
User management
Group the people in your organisation into teams, and see each person's role and when they last signed in.
User management is only available to organisation admins — people whose Role is Admin. Everyone else does not see the entry in the settings menu.
Opening the page
- Click your avatar at the bottom of the left rail and choose Settings.
- Under ORGANIZATION, select User management.
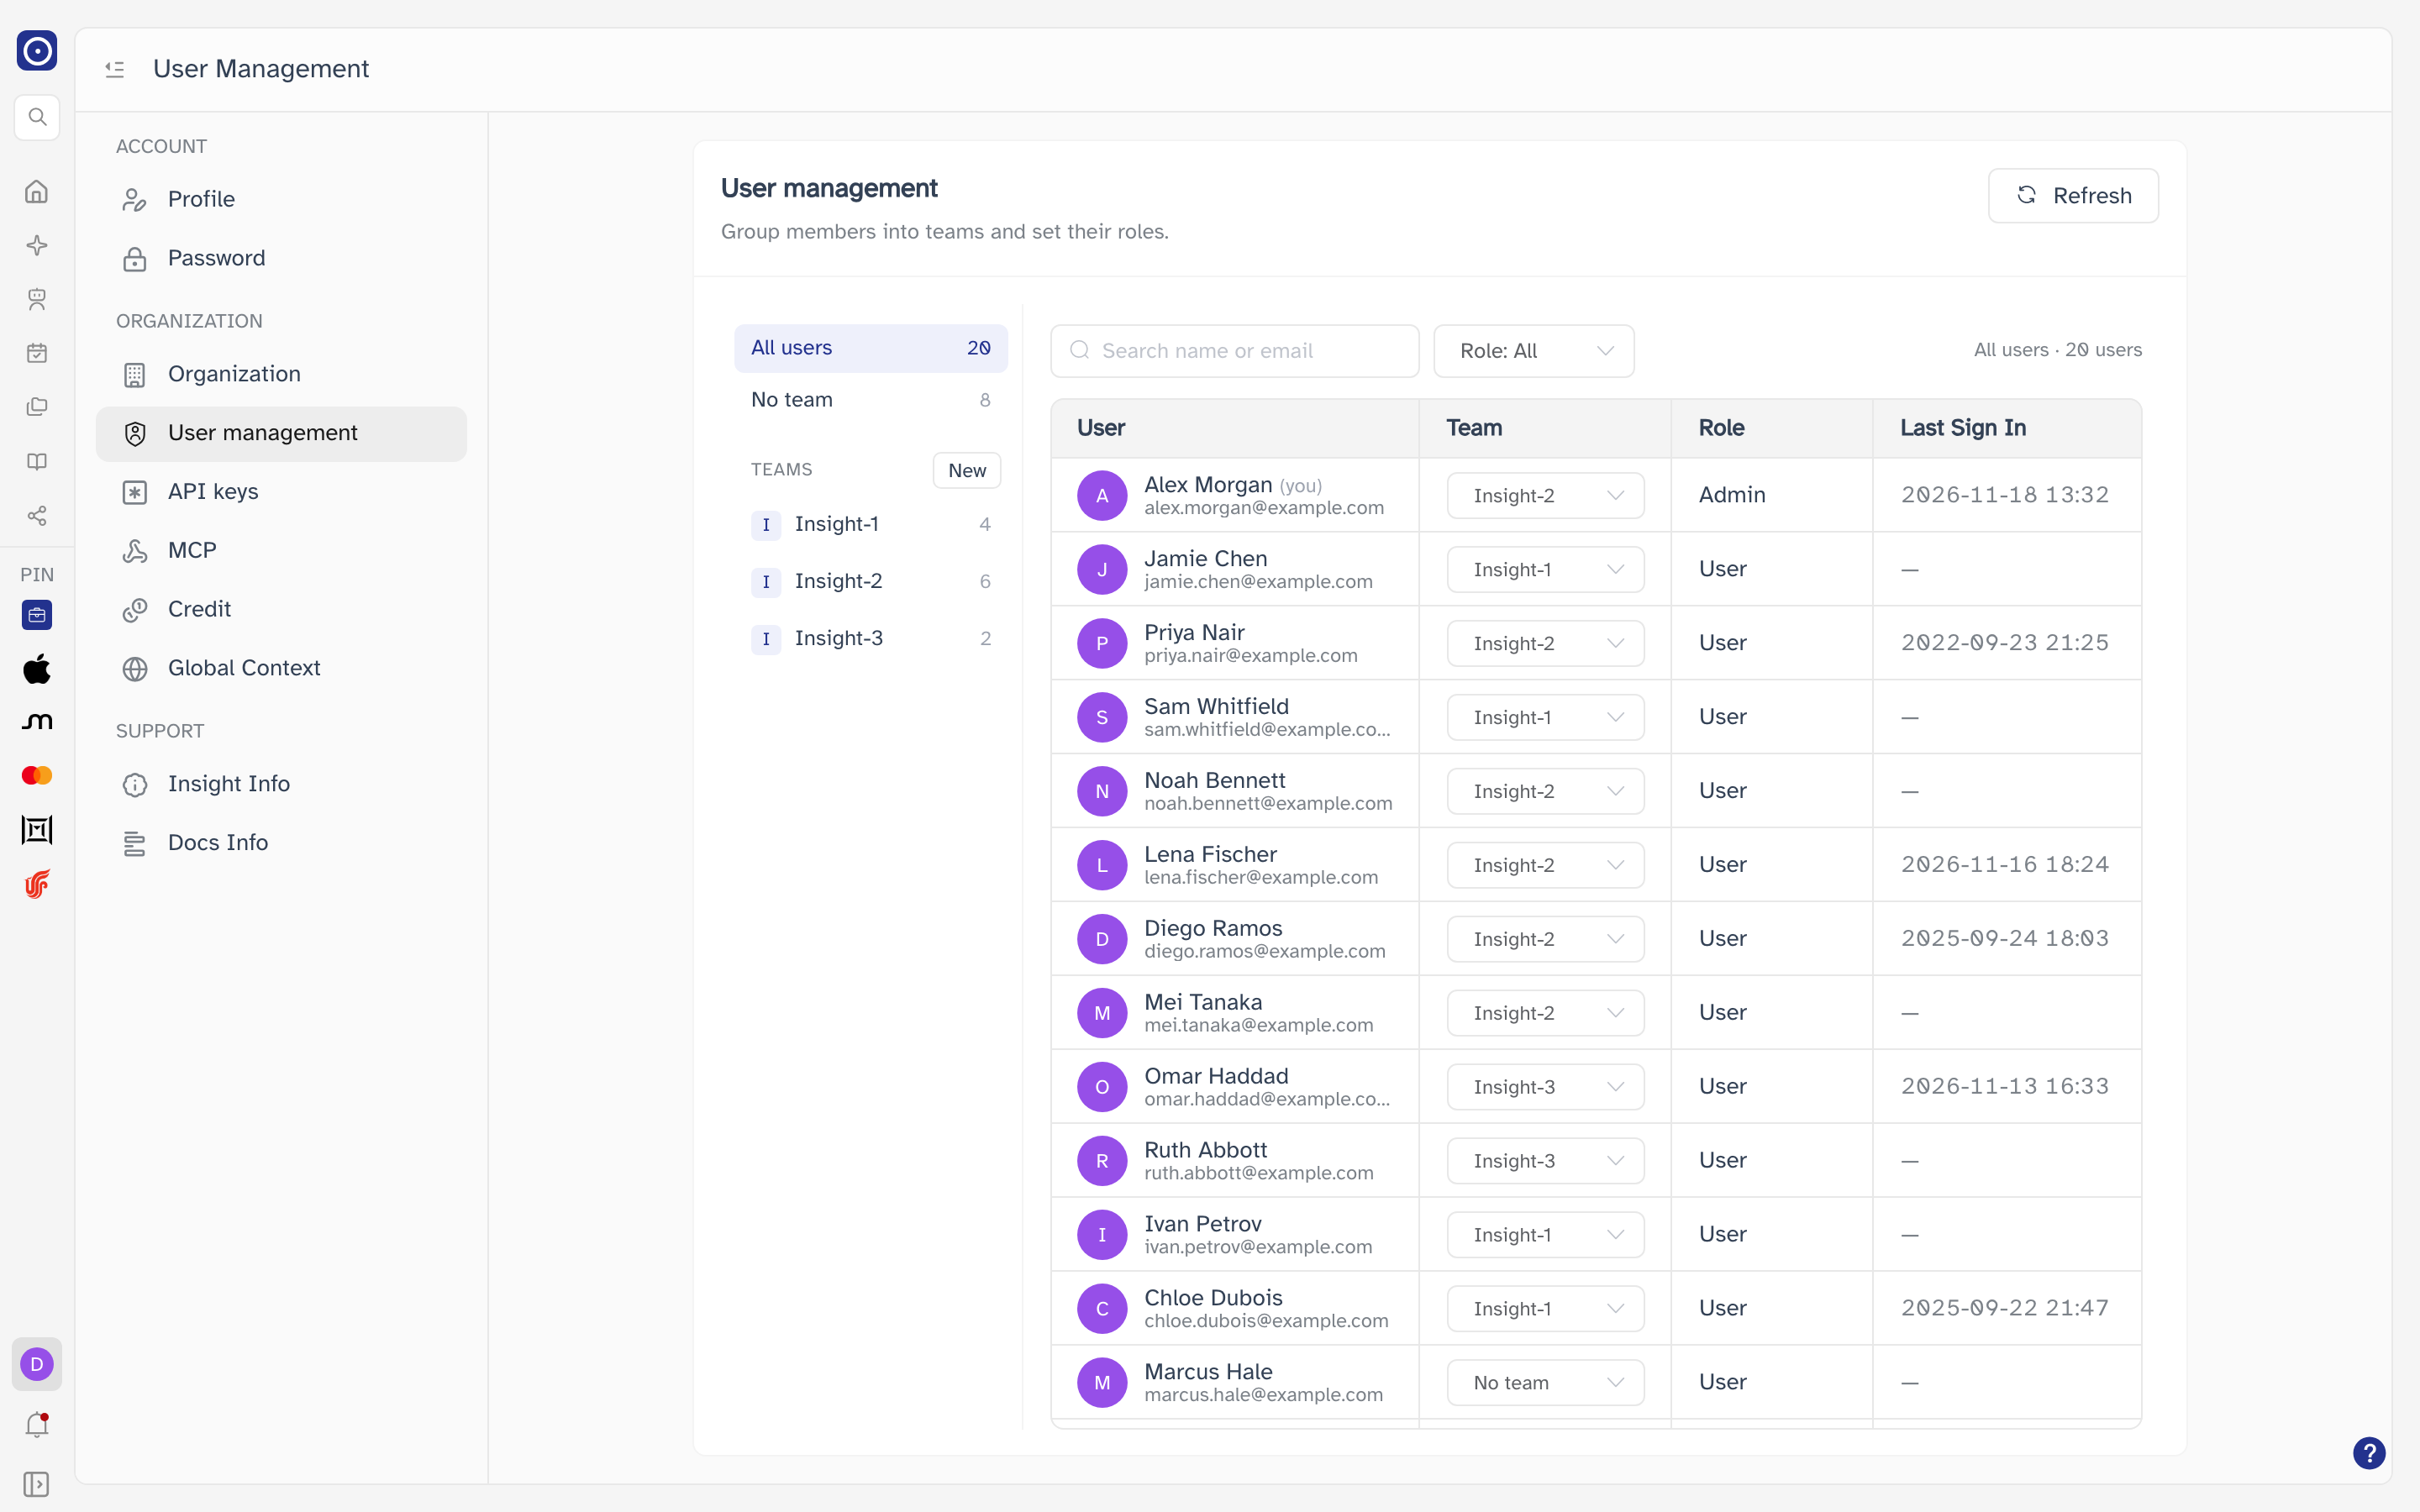
The page has two parts: the team list on the left and the users table on the right. Refresh, at the top right of the page, reloads the users and teams — use it to pick up changes another admin has made. If the team you were looking at has been deleted in the meantime, the view returns to All users.
Teams
The team list is also the filter for the users table: click an entry and the table shows only the people in it. The number beside each entry is how many users it contains.
| Entry | Shows |
|---|---|
| All users | Everyone in your organisation. |
| No team | People who have not been put in a team yet. |
| A team name | The members of that team. Teams are listed alphabetically; hold the pointer over a team to see its description. |
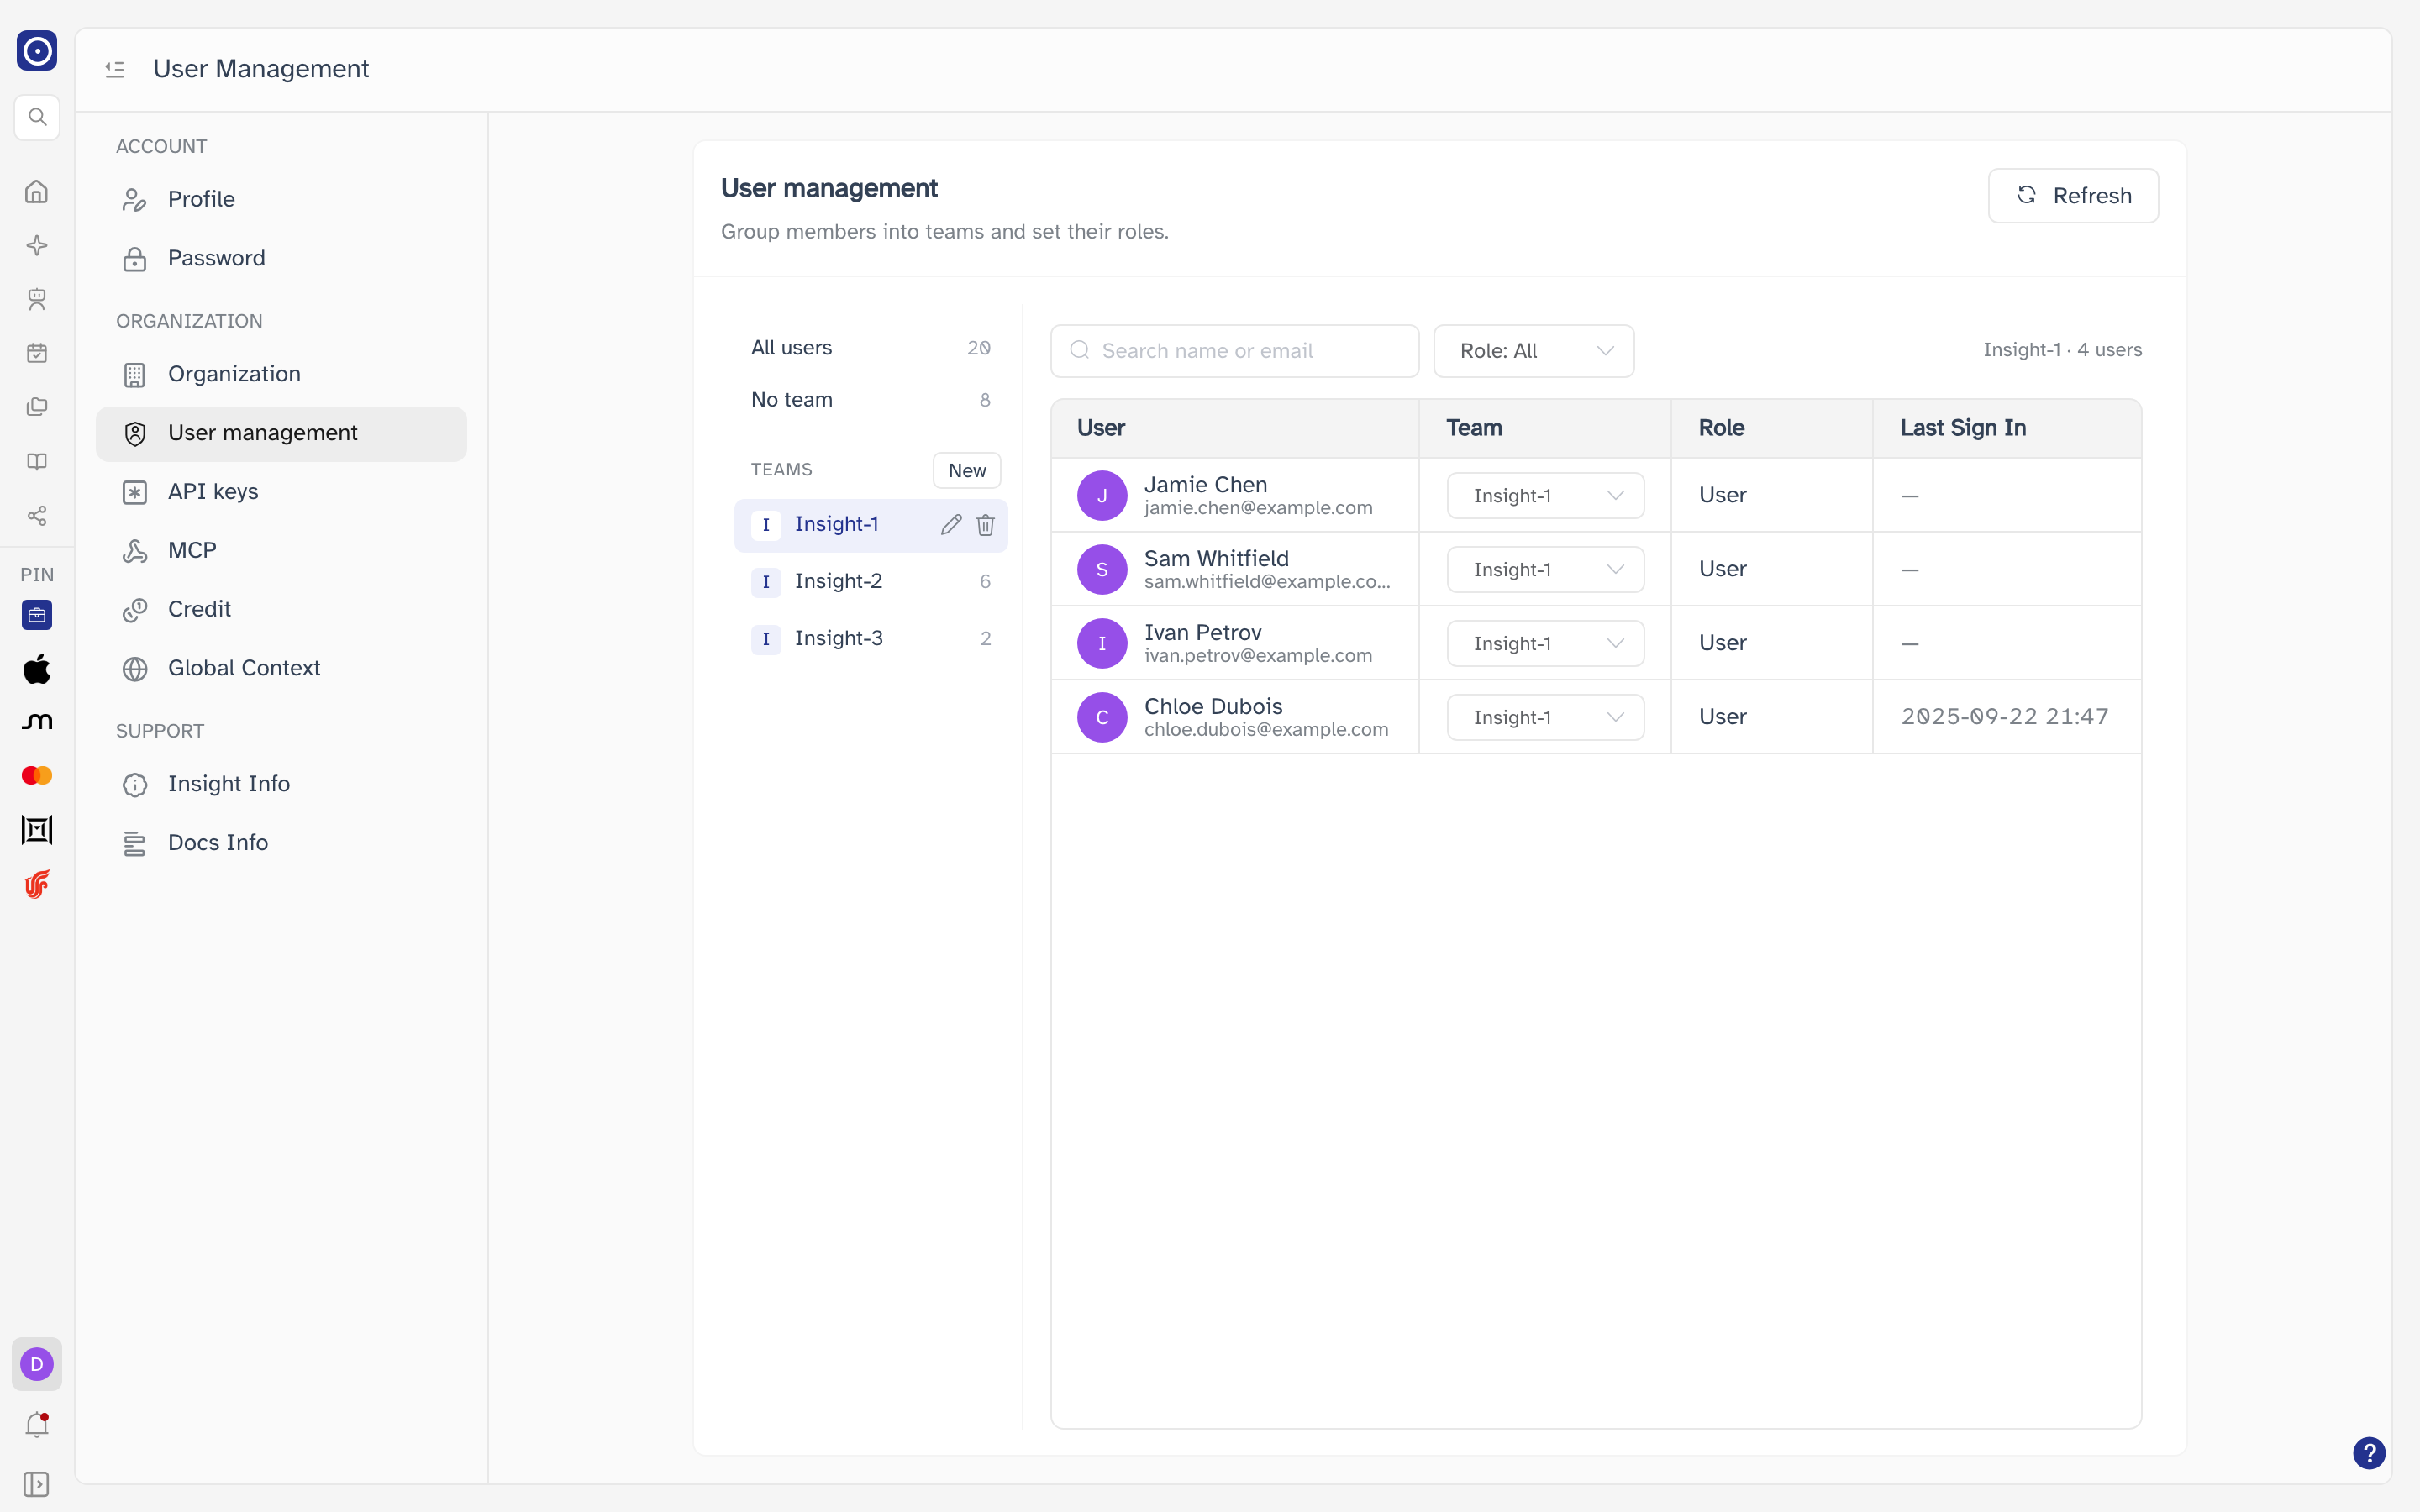
Each person belongs to at most one team. Until the first team is created, the list reads No teams yet. Create one, then pick it in a user's Team column.
Creating or renaming a team
- To create a team, click New next to TEAMS. To rename one, hold the pointer over it and click the Rename icon.
- Fill in the form — see the table below.
- Click Create (new team) or Save (rename).
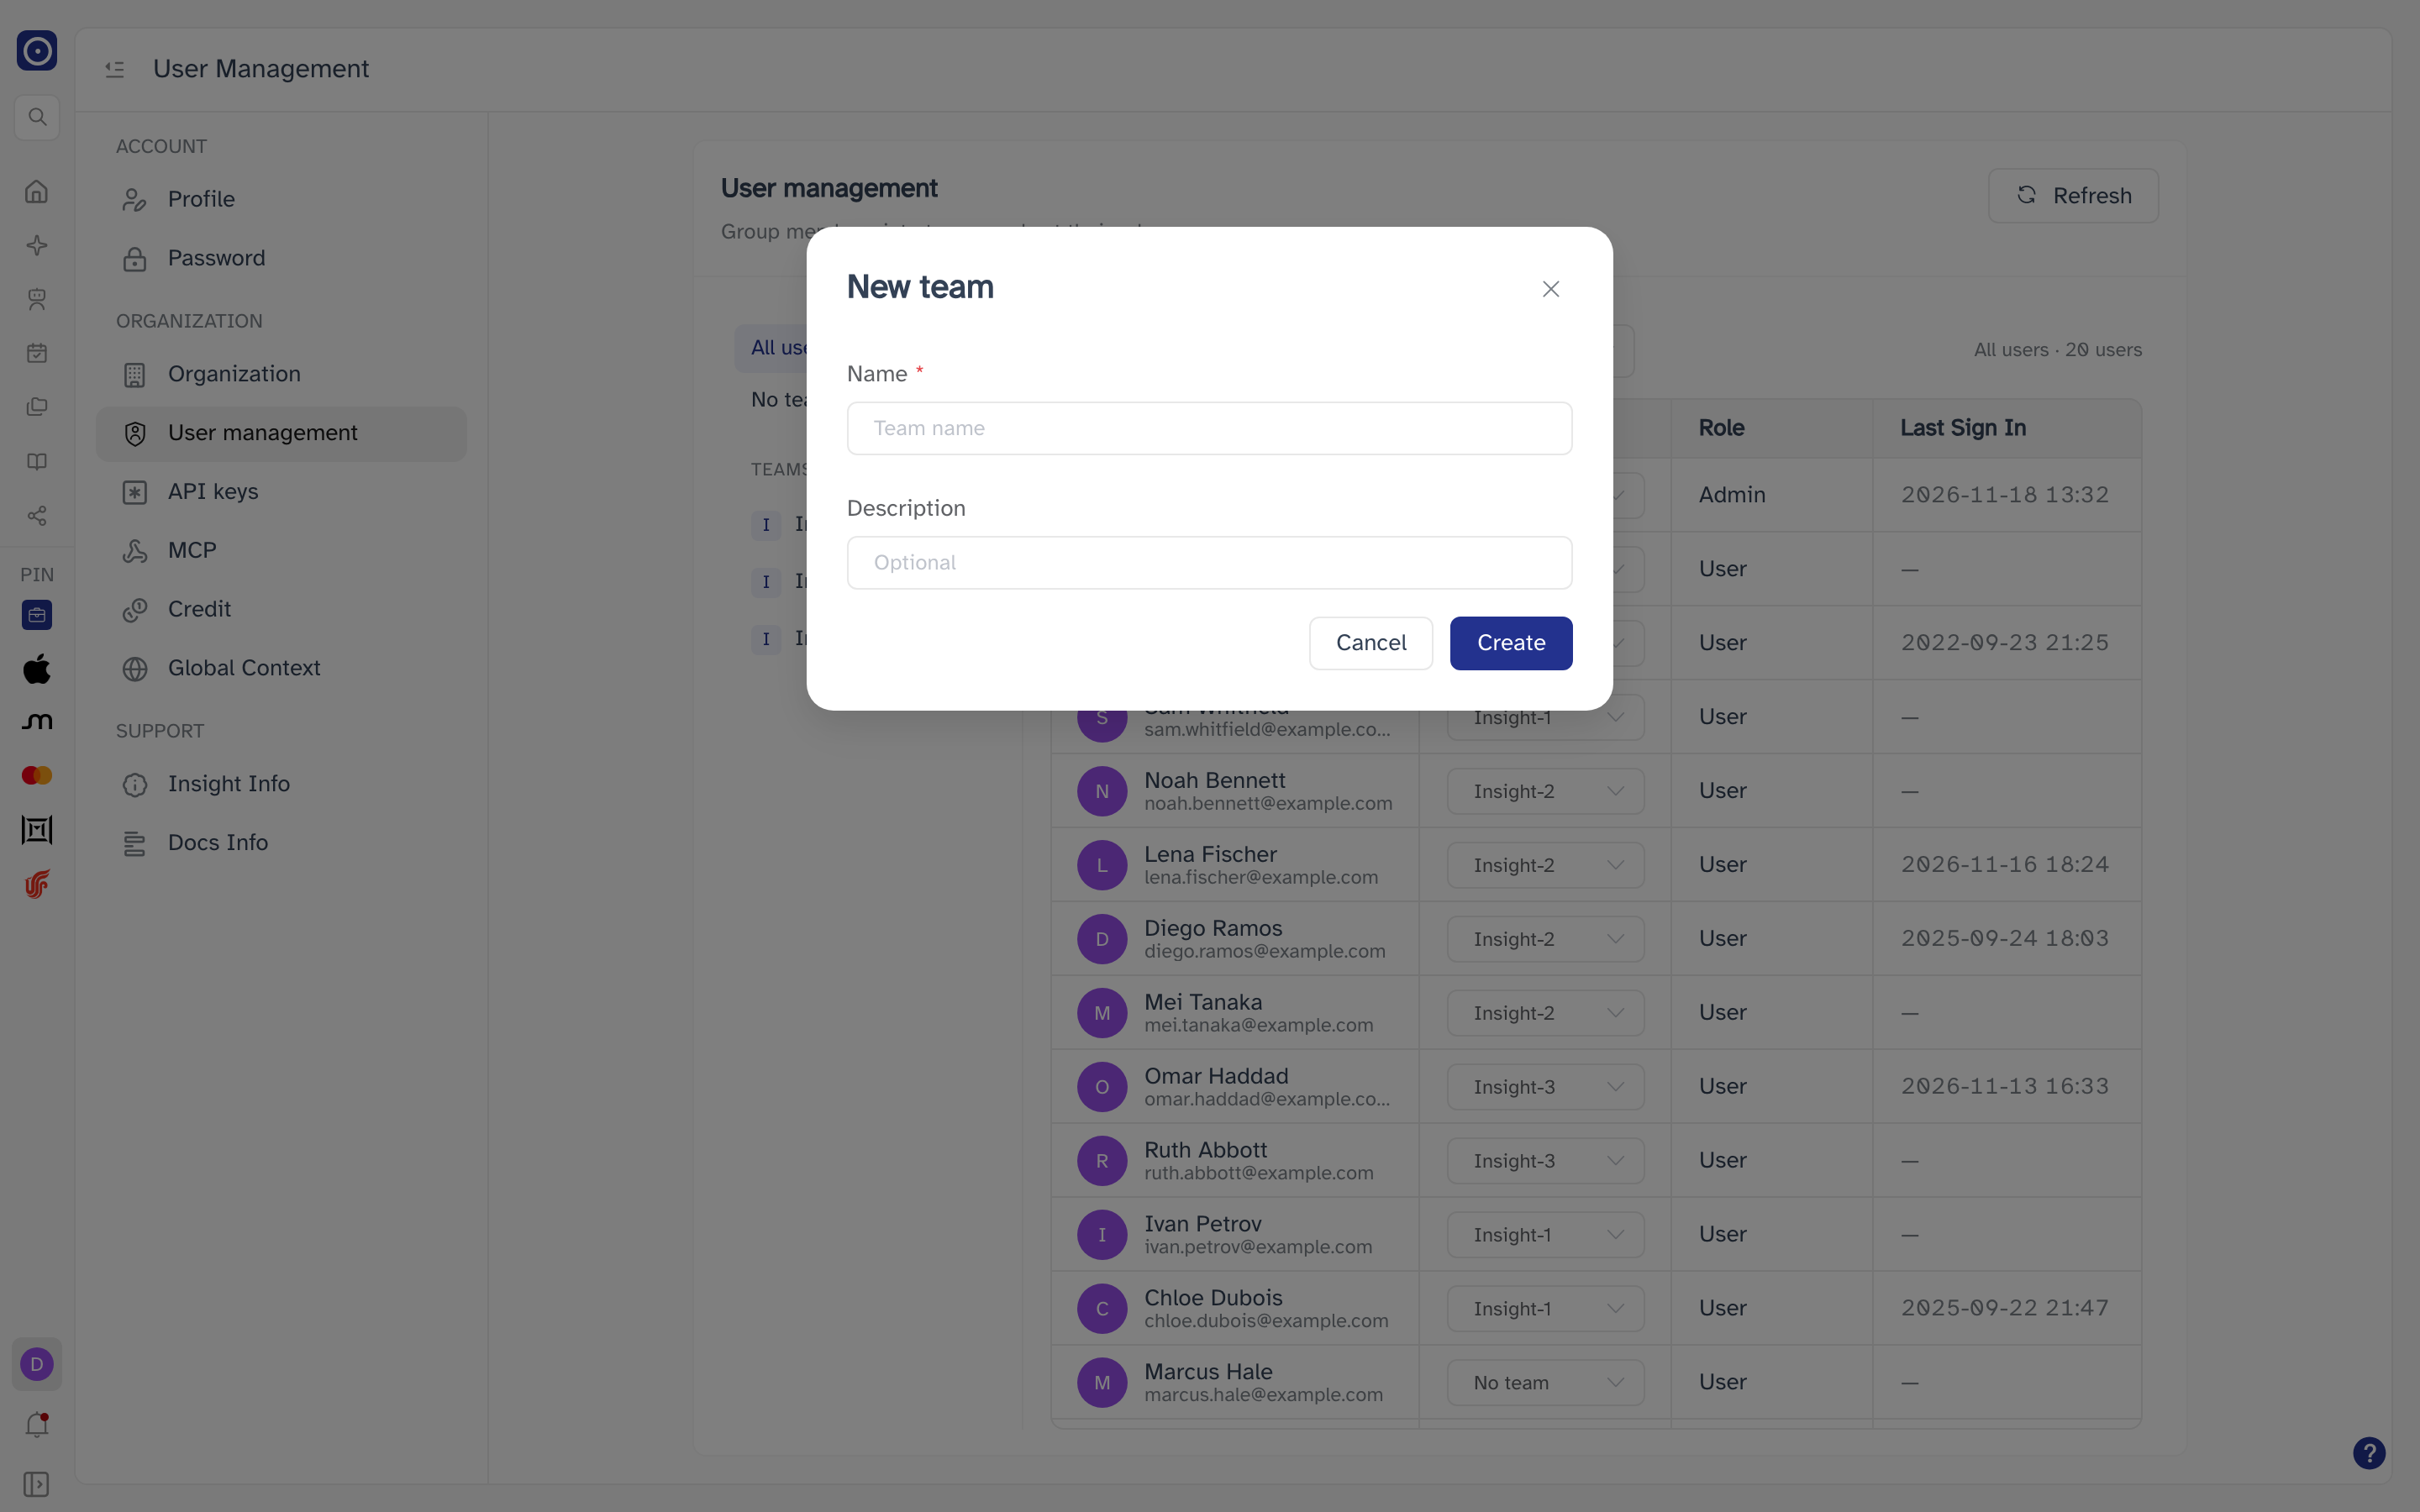
| Field | Notes |
|---|---|
| Name | Required, up to 128 characters. Must be different from every other team name in your organisation, ignoring upper and lower case — otherwise you see A team with this name already exists. |
| Description | Optional, up to 512 characters. Shown when you hold the pointer over the team. |
Spaces at the start and end of either field are removed when you save. A new team is selected straight after it is created, so you can go on to add people to it. Clicking outside the dialog does not close it — use Cancel or the × in its corner.
Deleting a team
- Hold the pointer over the team and click the Delete icon.
- Read the confirmation, which names the team and says how many members it has.
- Click Delete to go ahead, or Cancel to keep the team.
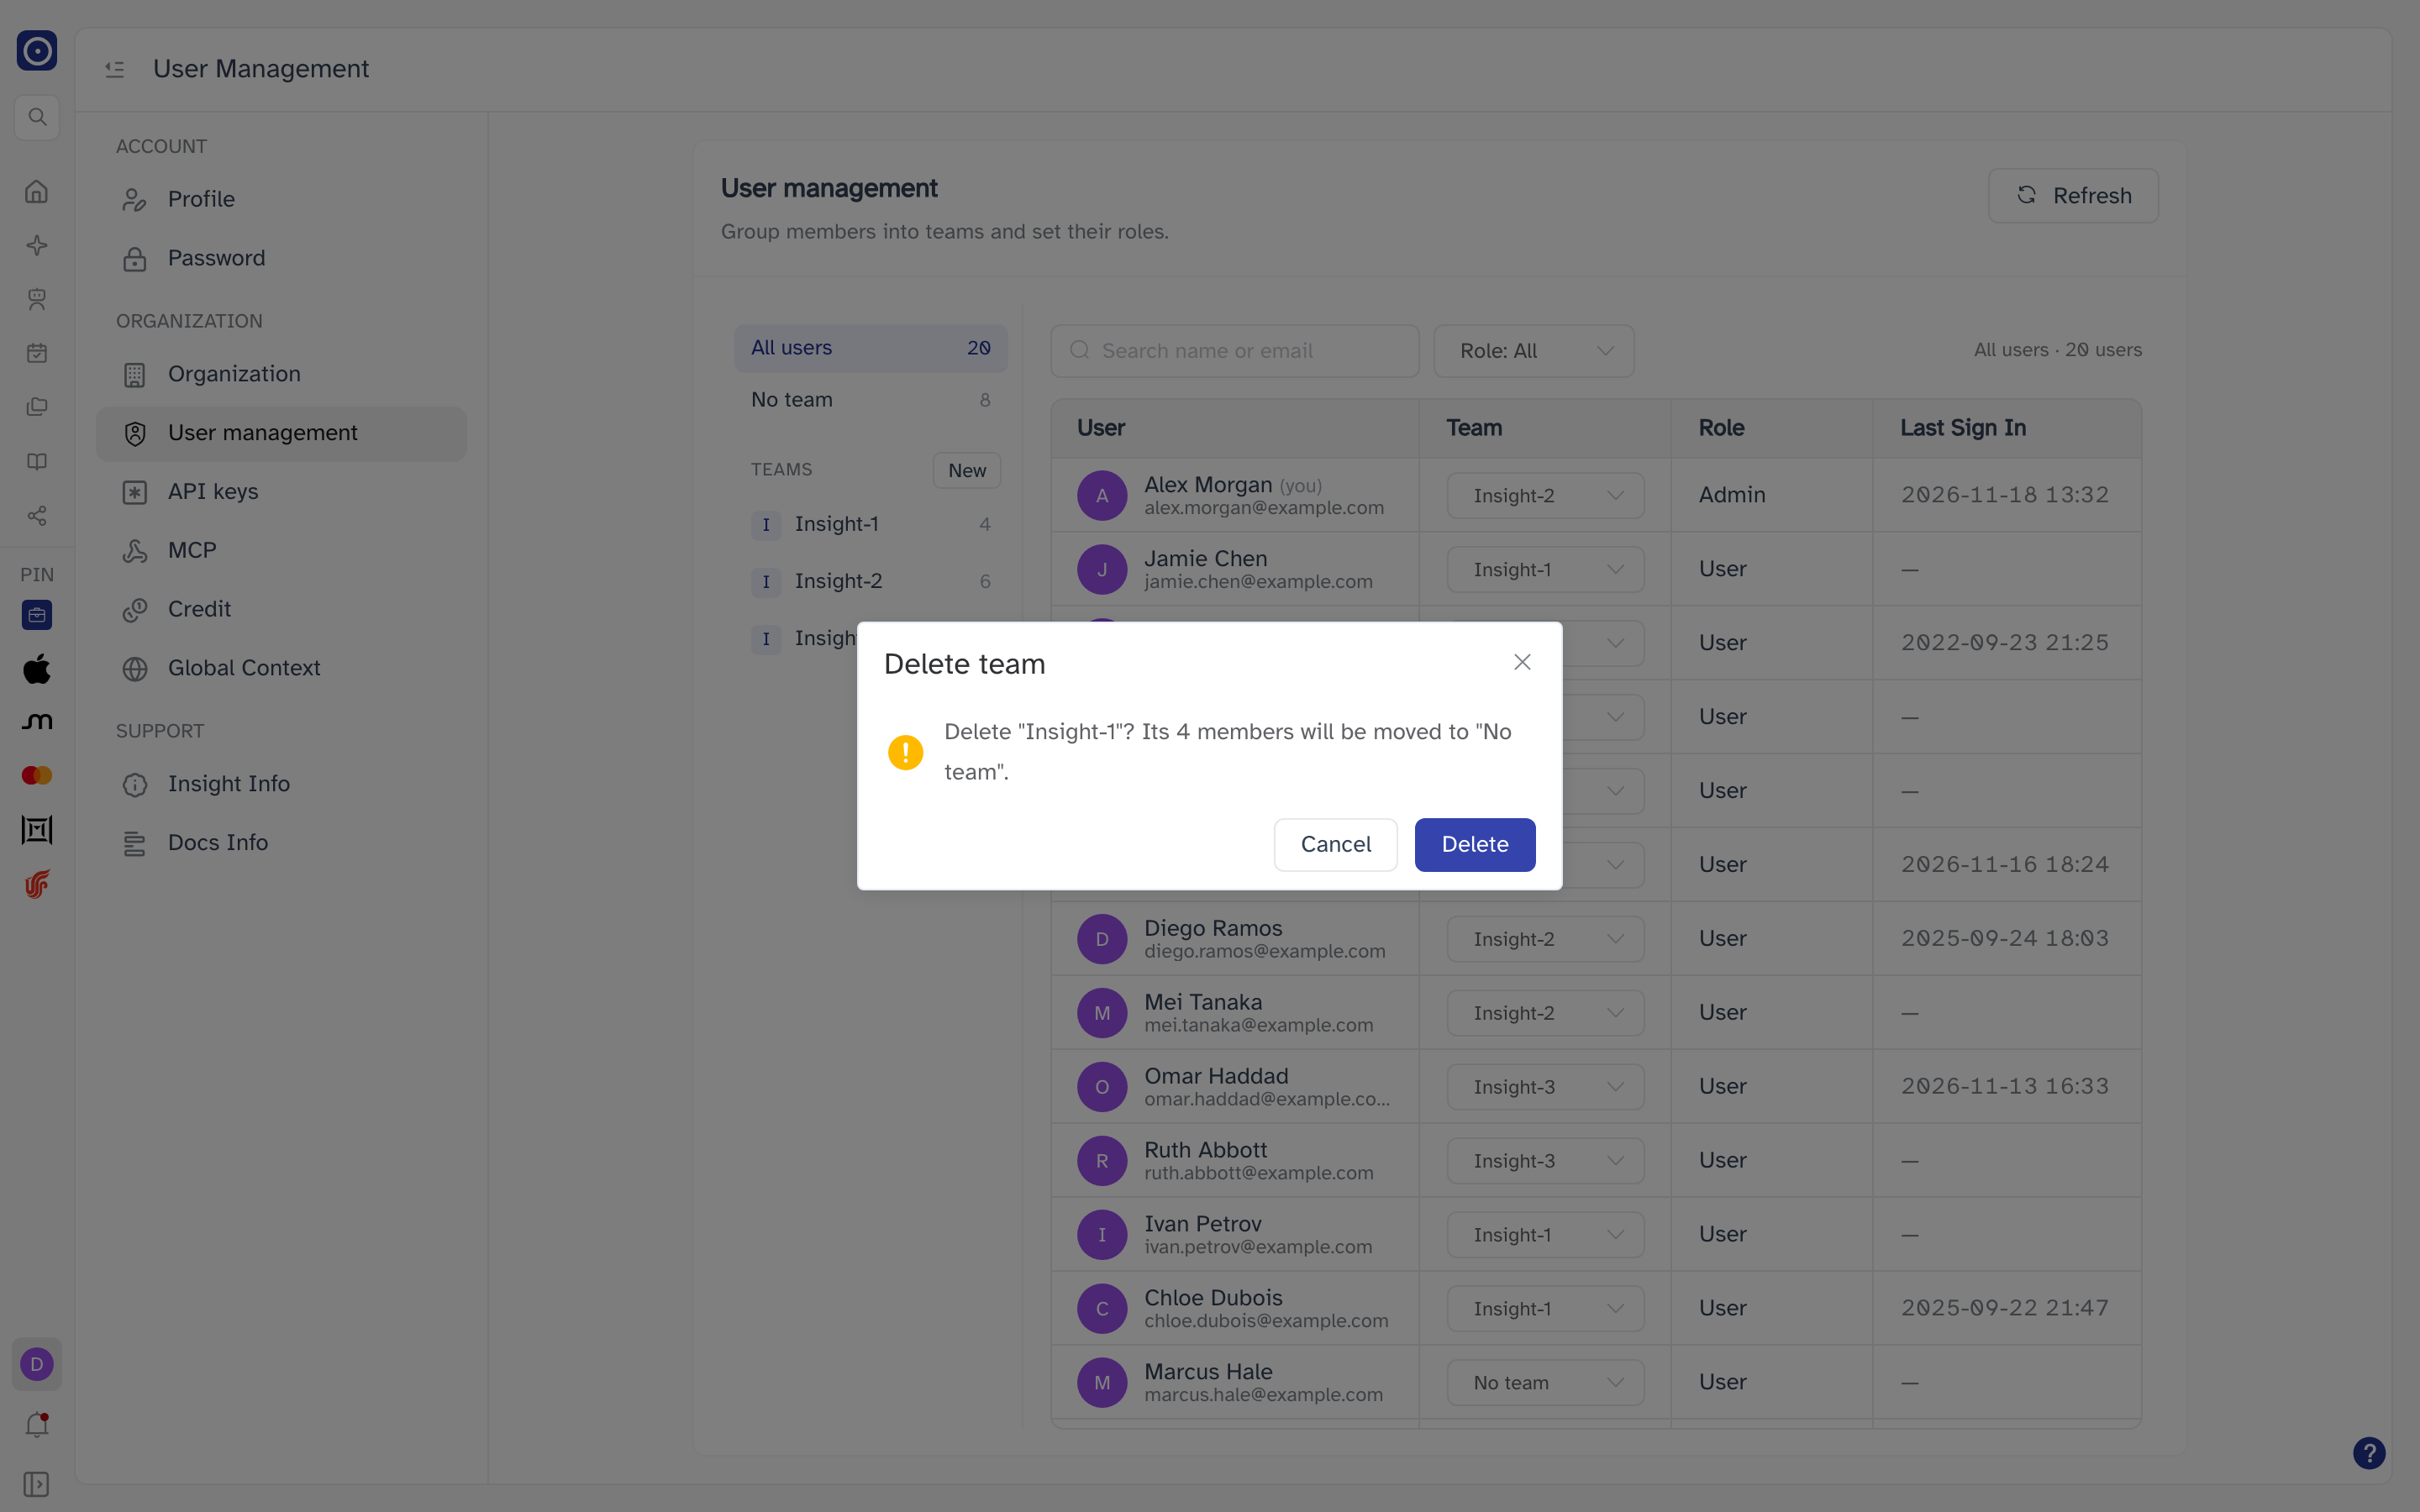
The team's members are moved to No team; their accounts are not affected. They also lose any knowledge base access that was given to the team as a whole.
Users
The table lists the people selected on the left, in the order they joined your organisation. Two filters above it narrow the list further, and both work together with the team you have selected:
| Control | Notes |
|---|---|
| Search name or email | Matches any part of a name or email address. Upper and lower case are treated the same. |
| Role | Role: All, User, or Admin. |
The count to the right of the filters shows what you are looking at and how many people match, for example All users · 12 users.
| Column | Notes |
|---|---|
| User | Name and email address. Your own row is marked (you). Beside the name is the person's profile photo, or the first letter of their name if they have not set one. |
| Team | The person's team, or No team. Change it here — see below. |
| Role | Admin or User. Admins can open this page. Roles are shown for reference and cannot be changed here. |
| Last Sign In | Date and time of the person's most recent sign-in, as YYYY-MM-DD HH:mm. A dash means they have never signed in. |
Moving someone to another team
- In the person's row, open the Team dropdown.
- Choose a team, or No team to take them out of their current one.
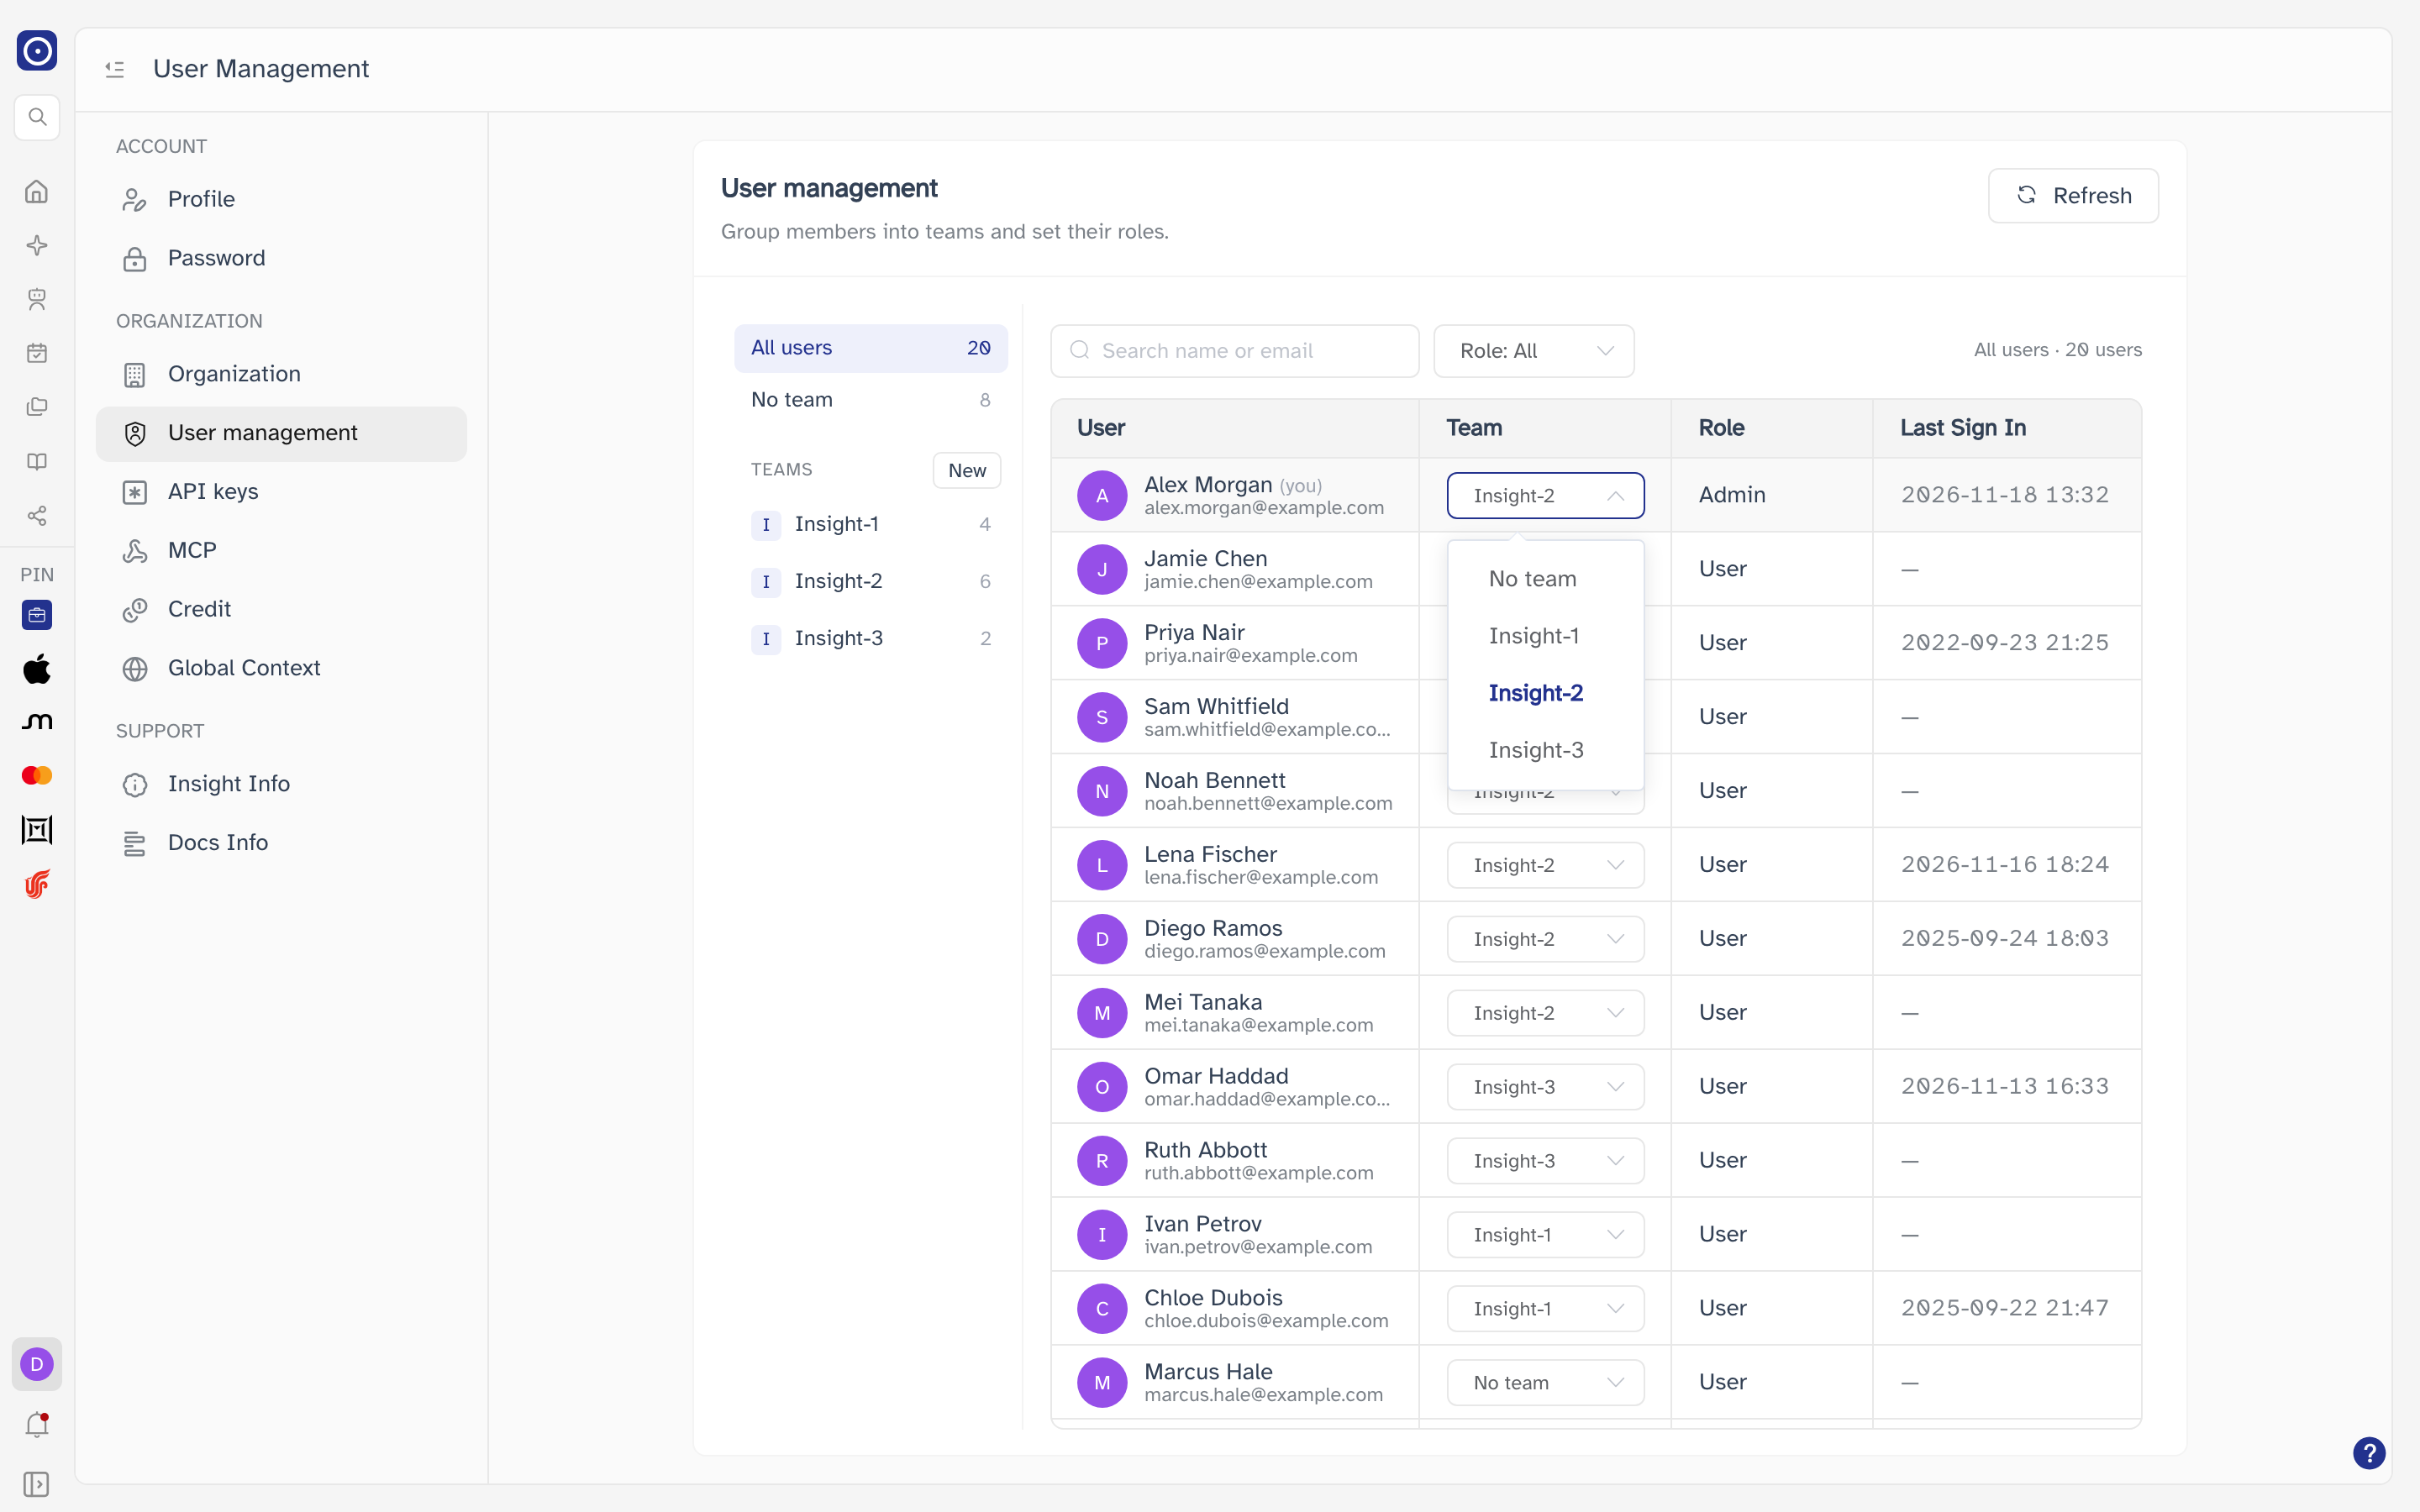
The change is saved as soon as you choose — there is no Save button. If it cannot be saved, an error message appears and the dropdown goes back to the previous team.
A shared knowledge base can be opened to particular teams. Moving someone into a team gives them access to the knowledge bases shared with it; moving them out takes that access away. See Sharing and members.
When the table is empty
| Situation | The table says |
|---|---|
| Filtered out | No matching users. Nobody matches the search or Role filter. Click Clear filters to reset both; the team selection stays as it is. |
| Empty team | Assign users to this team from the Team column. The selected team has no members yet. |
| No one at all | No users. There is nobody in your organisation to list. |