
Creating a Custom Agent
A custom agent is built by describing what you want in plain language. The setup assistant asks follow-up questions, proposes a configuration one piece at a time, and only creates the agent once you approve the whole thing.
Opening the page
- Click Agent Marketplace in the left rail.
- Click New Agent at the top of the left column.
- Choose Custom Agent.
Opening this page does not create an agent. It appears in Agent Marketplace only after you reach the end of the conversation and confirm.
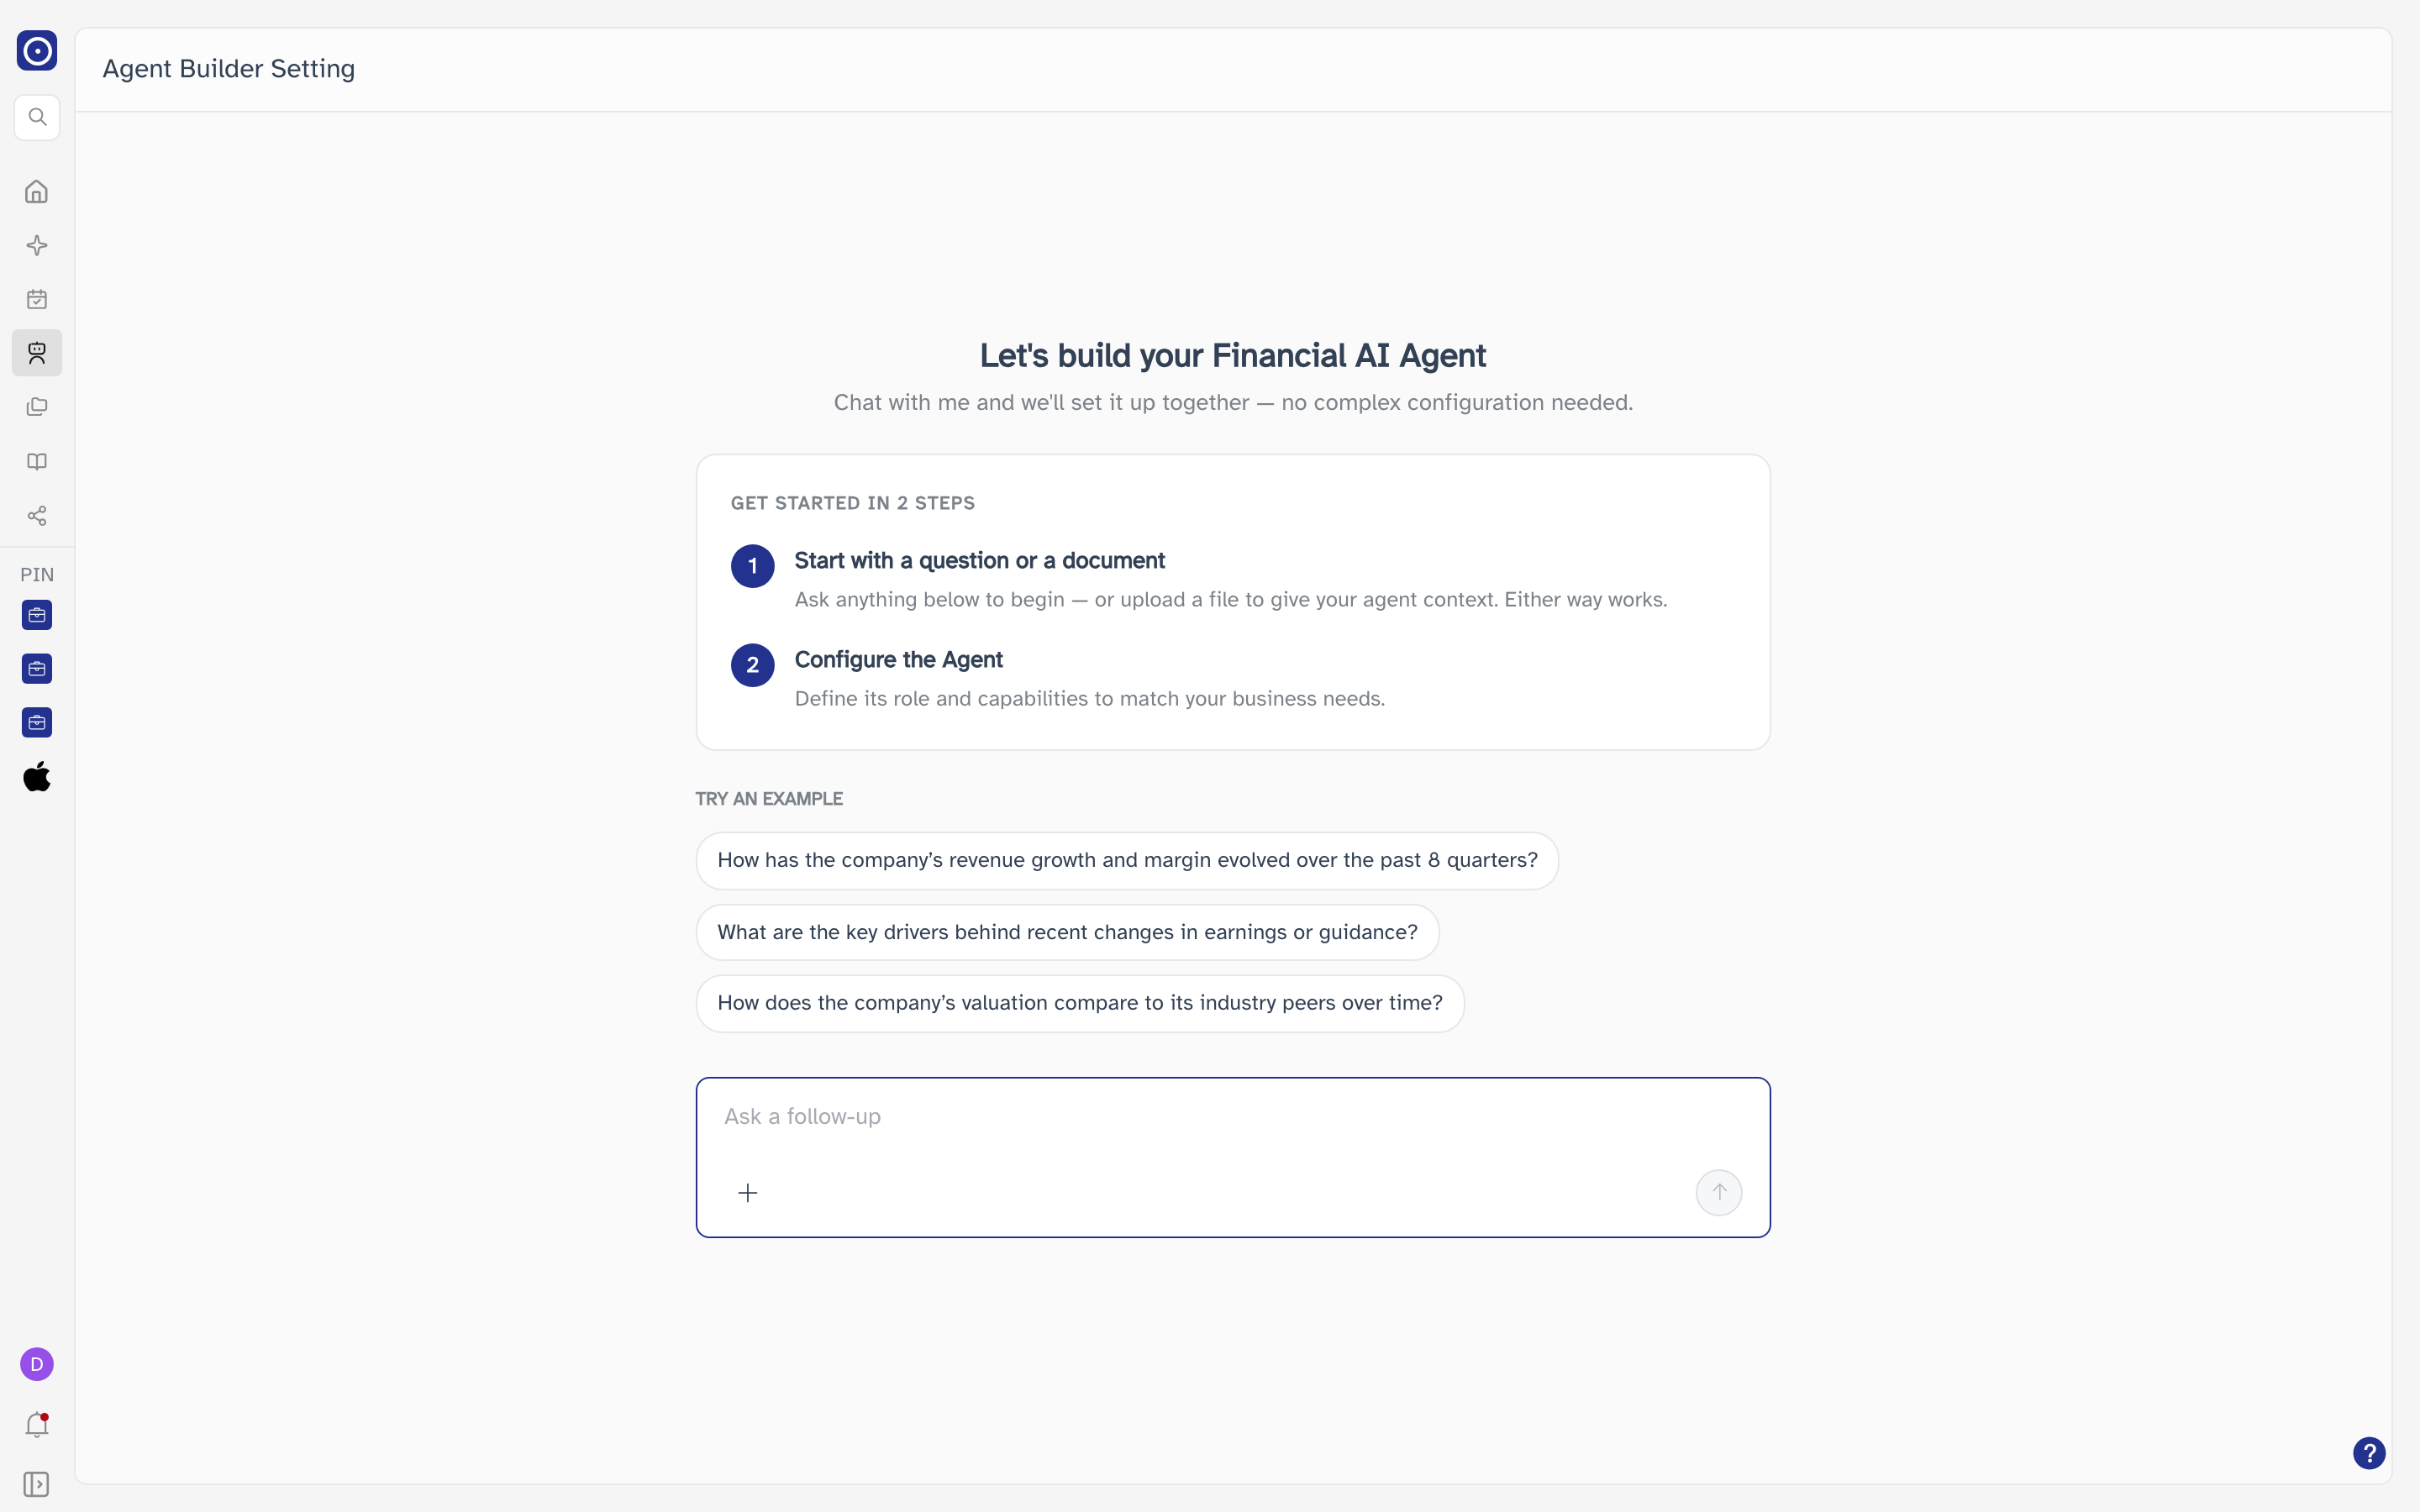
Starting the conversation
The opening card sets out the two steps: Start with a question or a document and Configure the Agent. There are three ways to begin.
| Way in | What happens |
|---|---|
| Type a question | Describe the research you want the agent to do, then press Enter or click the send arrow. |
| Pick an example | The chips under TRY AN EXAMPLE fill the box and send straight away — one click, no editing step. |
| Upload a document | Give the assistant a file to work from instead of a written brief. See below. |
Uploading a document
Click + beside the message box, or drag a file anywhere onto the conversation. While you are dragging, the page shows Drop files here to add to chat.
| Rule | Detail |
|---|---|
| Accepted formats |
.ppt, .pptx, .xls, .xlsx,
.doc, .docx, .md, .markdown,
.txt, .pdf, .csv
|
| One file per agent | + is disabled once a file has been added, and while an upload is running. |
| Before the first message only | + is also disabled once the conversation has started. Attach the document first if you want one. |
An added file appears above the message box as 1 File. Clicking that row expands it to show the file name.
Working through the setup cards
From here the assistant replies with cards rather than plain text. Each card holds one part of the agent's configuration, already filled in with a proposal, and waits for you.
The cards below are described rather than shown. They only exist inside a live setup conversation, and there is no way to reopen a finished one — so there is no state of the product in which they can be captured without building an agent.
Not every conversation produces every card, and the order follows the conversation rather than a fixed script. The list below is what the assistant can put to you, not a fixed sequence you will always see.
| Card | What it settles |
|---|---|
| Requirement Confirmation | The research dimensions read out of your brief. |
| Entity Selection | Which companies or which portfolio the agent covers, under Recommended Company and Recommended Portfolio. |
| Data Source Configuration | The Time Span to read, and which sources feed the agent. |
| Data Builder Configuration | The fields the agent extracts from each document. |
| Report Configuration | The reports the agent writes, and how often. |
How the cards behave
- Cards with more than one section put them in tabs. Next moves to the following tab; the last tab shows Confirm instead.
- Confirm accepts that card and lets the assistant continue. Nothing is saved to an agent at this point — confirming a card only advances the conversation.
- You can keep typing at any point. A card stays where it is in the conversation and the assistant answers below it.
Choosing companies and portfolios
Entity Selection proposes a starting set. Both lists open a search panel so you can change it — companies can be narrowed to your own, your organisation's, or both, and portfolios are searched by name. Each panel ends with Confirm.
Creating the agent
When the assistant has everything it needs, it ends with Setup complete and two buttons.
| Button | What it does |
|---|---|
| Continue Chat | Returns you to the conversation to adjust something. The agent is not created. |
| Confirm & Create | Creates the agent and opens its page, where you can run it, publish it and edit every part of the configuration. |
Everything settled in this conversation can be changed afterwards from the agent's CONFIGURATION pages. Creating the agent does not run it, and a new agent starts as a Draft.