
API keys
Create and manage the keys that let your own applications call the Orbit API, and jump to the integration guides for each endpoint.
Opening the page
- Click your avatar at the bottom of the left rail and choose Settings.
- Under ORGANIZATION, select API keys.
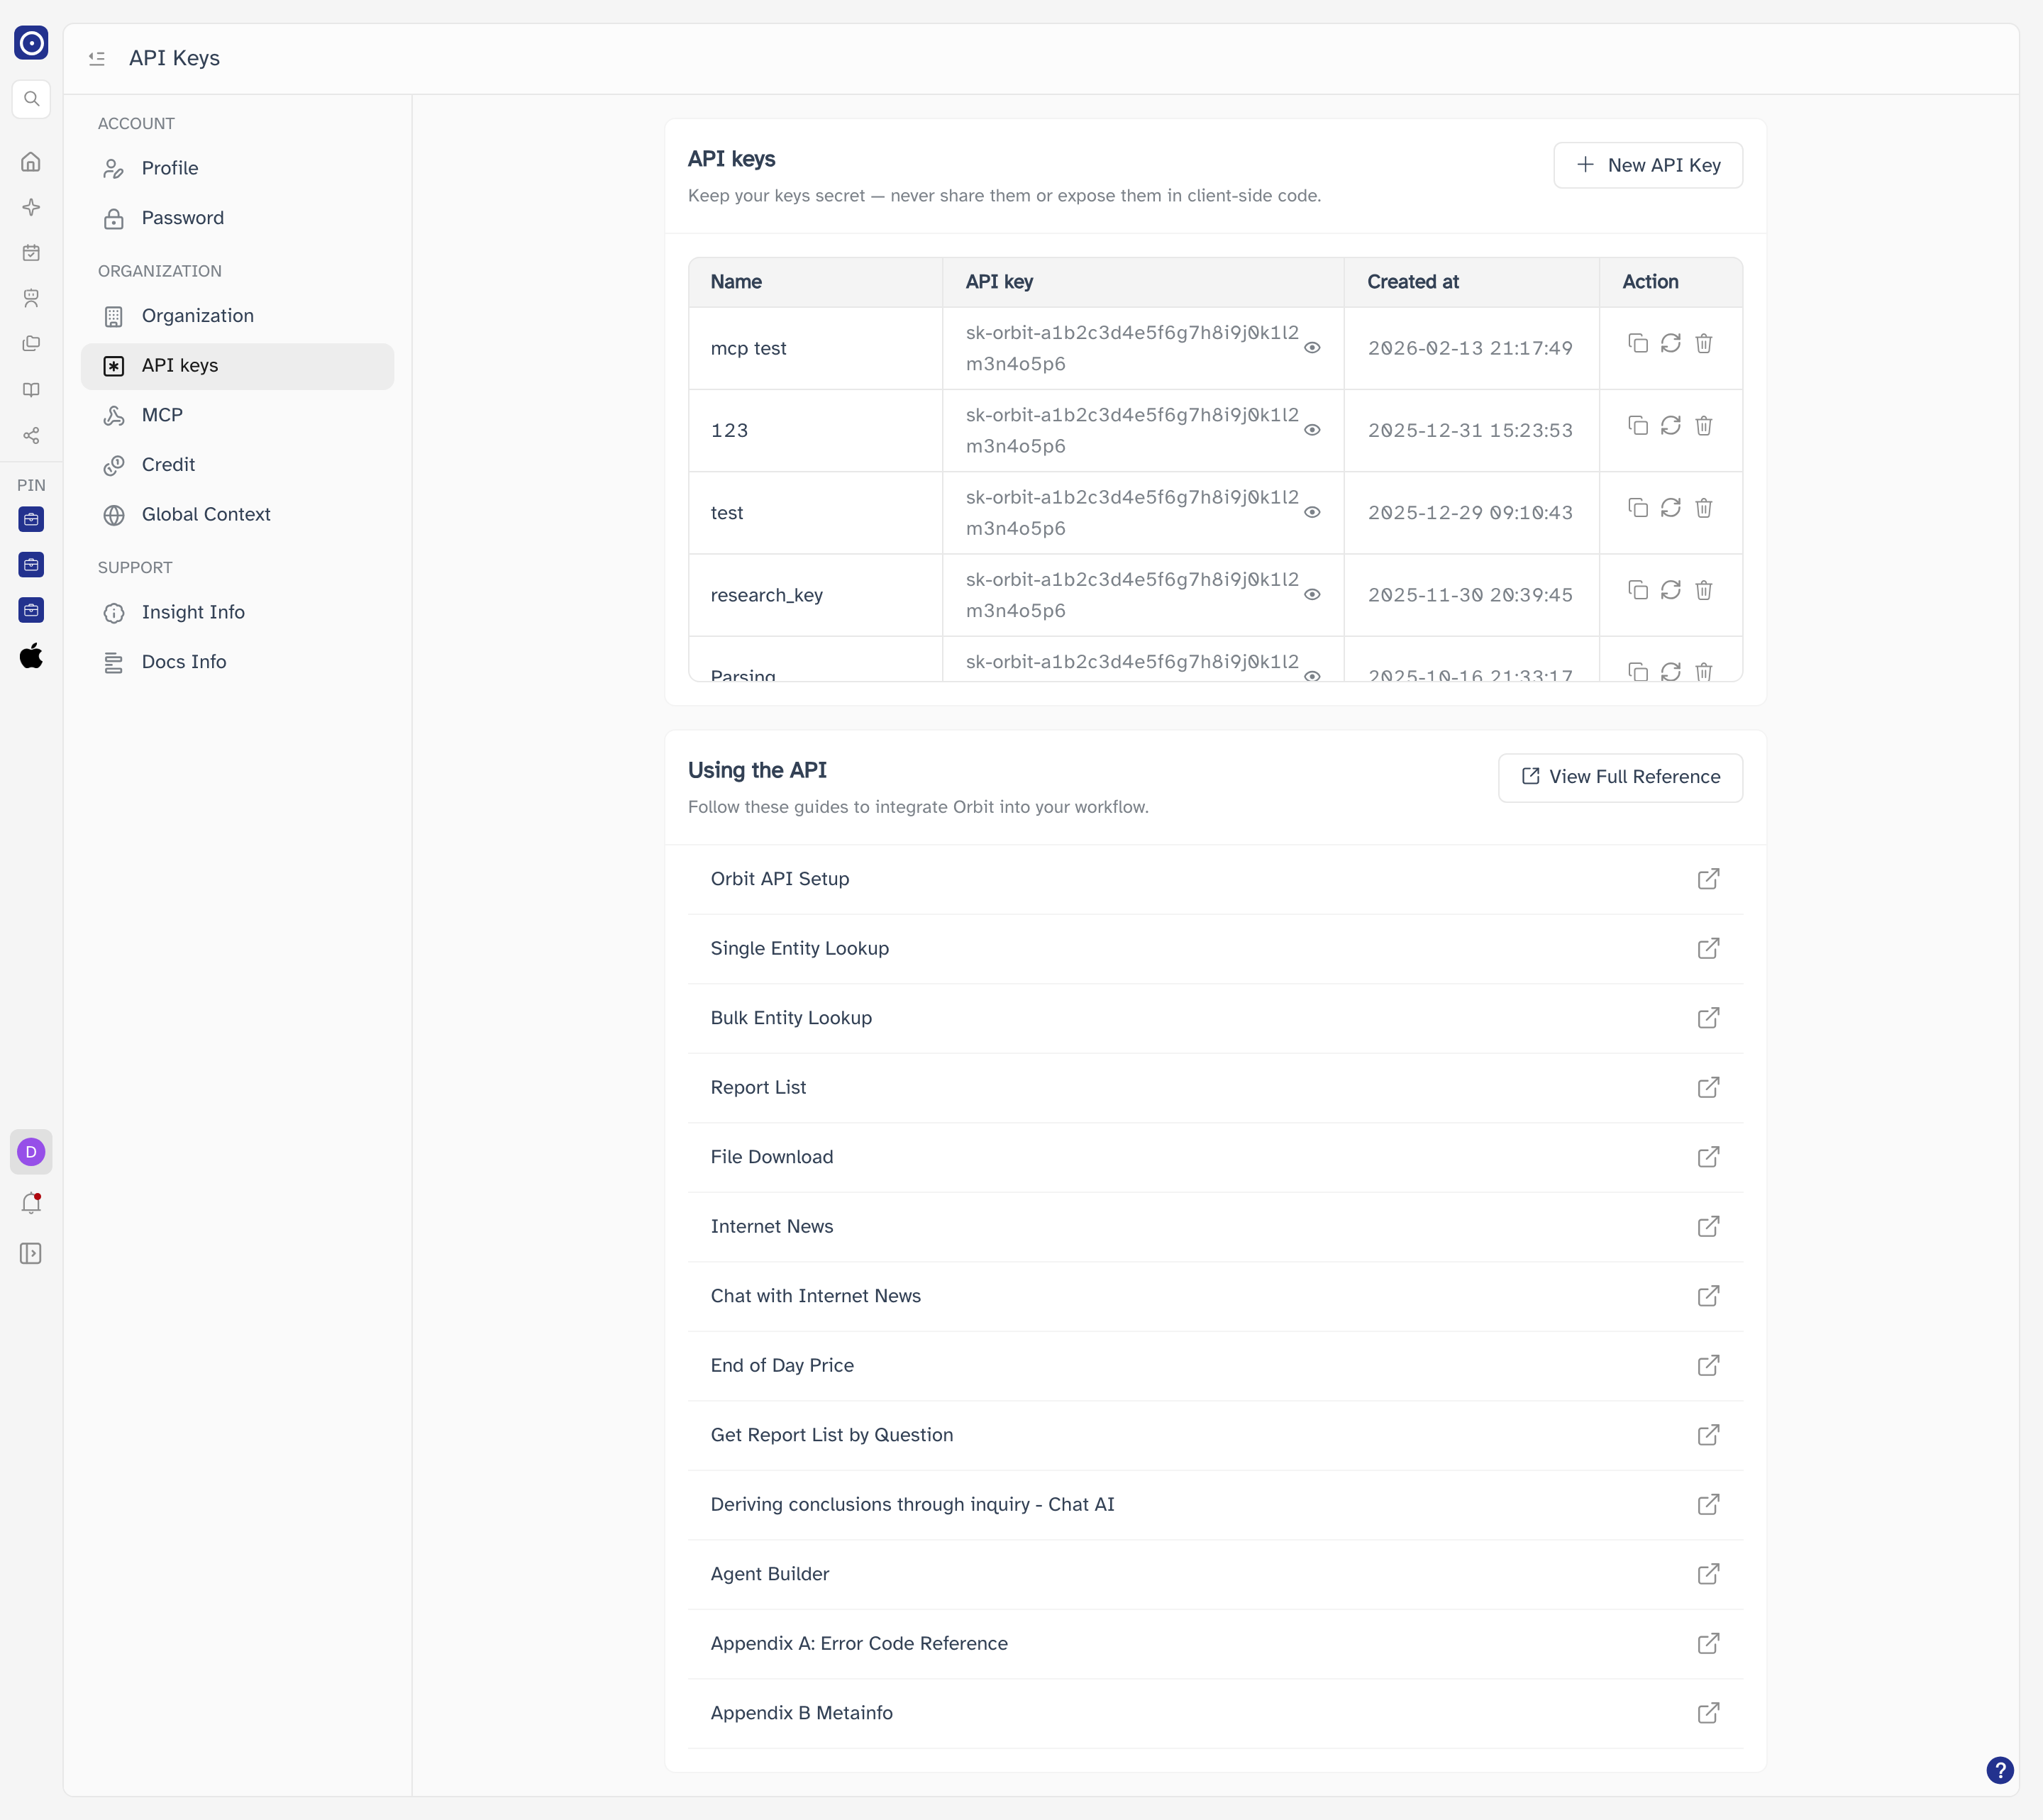
Anyone holding one of your API keys can make requests as you. Never share a key or put one in client-side code where a browser could expose it.
Creating a key
- Click New API Key at the top right of the keys card.
- Give the key a Name that says where it will be used — between 1 and 50 characters. A name is required.
- Click Create.
- Copy the key from the Save your key dialog and store it somewhere safe, then click Done.
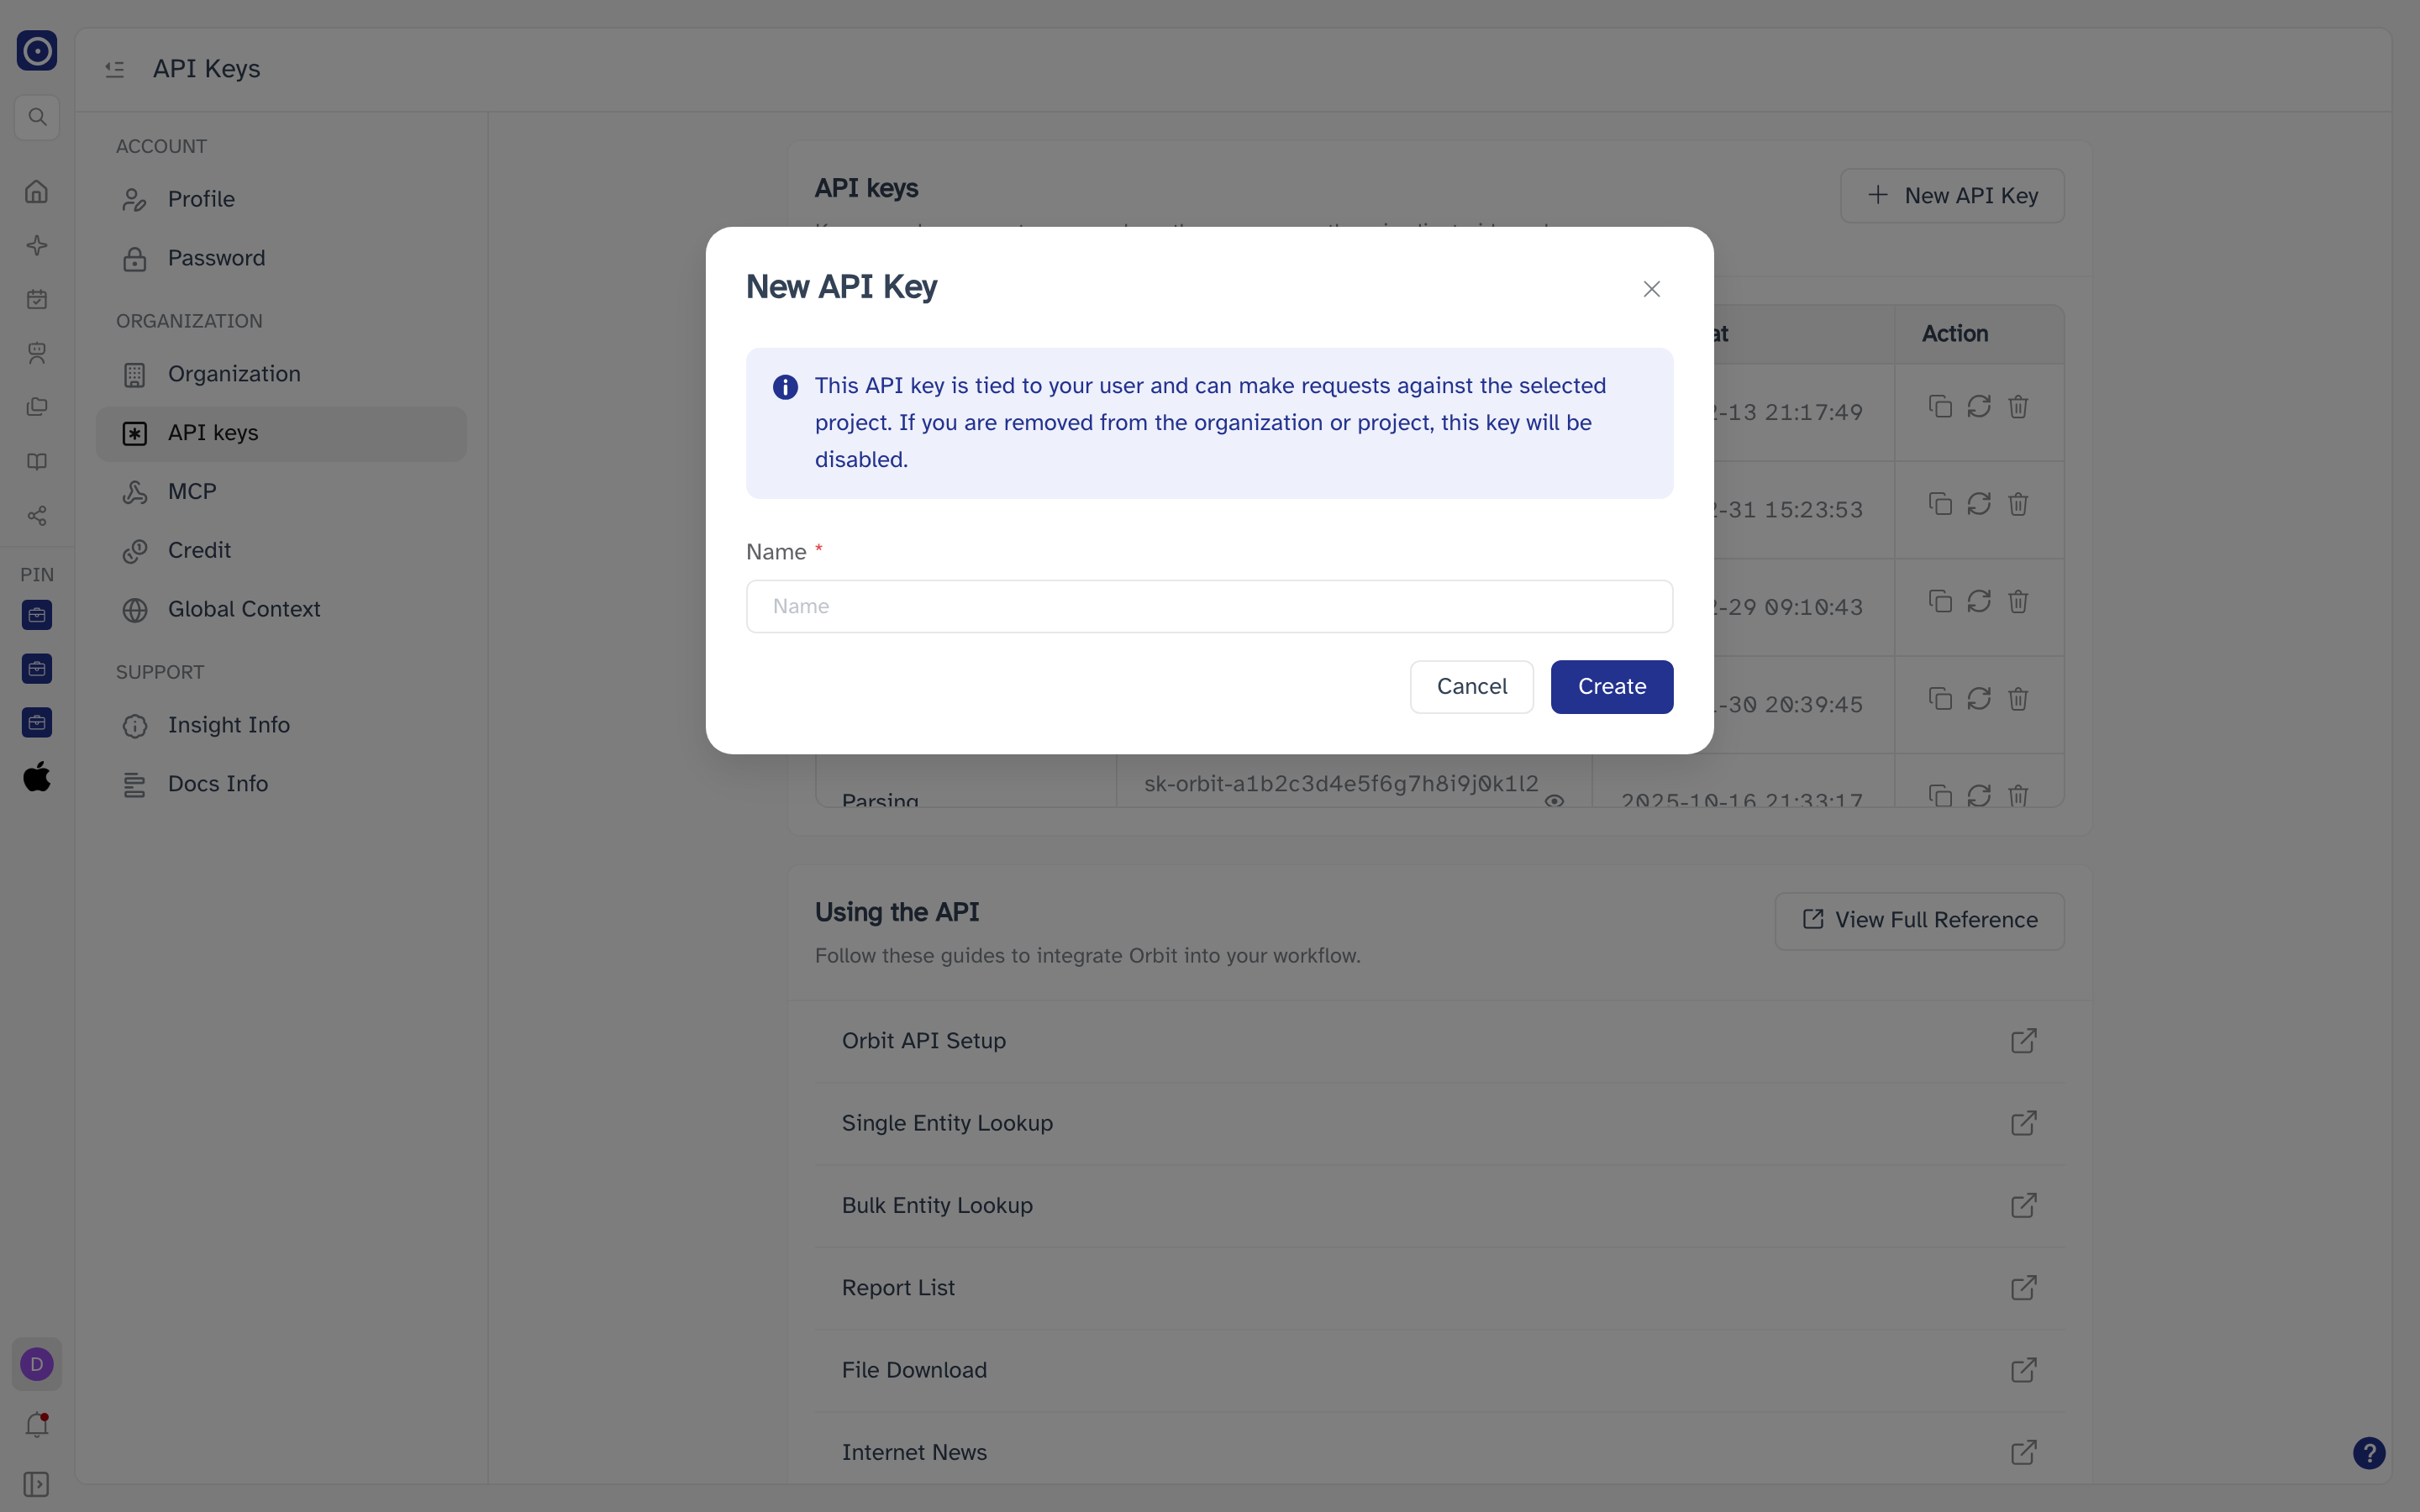
The full key appears only in the Save your key dialog immediately after creation. Once you close it you cannot view the key again — if you lose it, generate a new one.
A key is tied to your user account. If you are removed from the organisation or project, that key stops working.
Working with existing keys
Each row in the table shows the key's name, the key itself, and when it was created. If you have more keys than fit, the table scrolls inside the card while the header stays in place.
| Control | What it does |
|---|---|
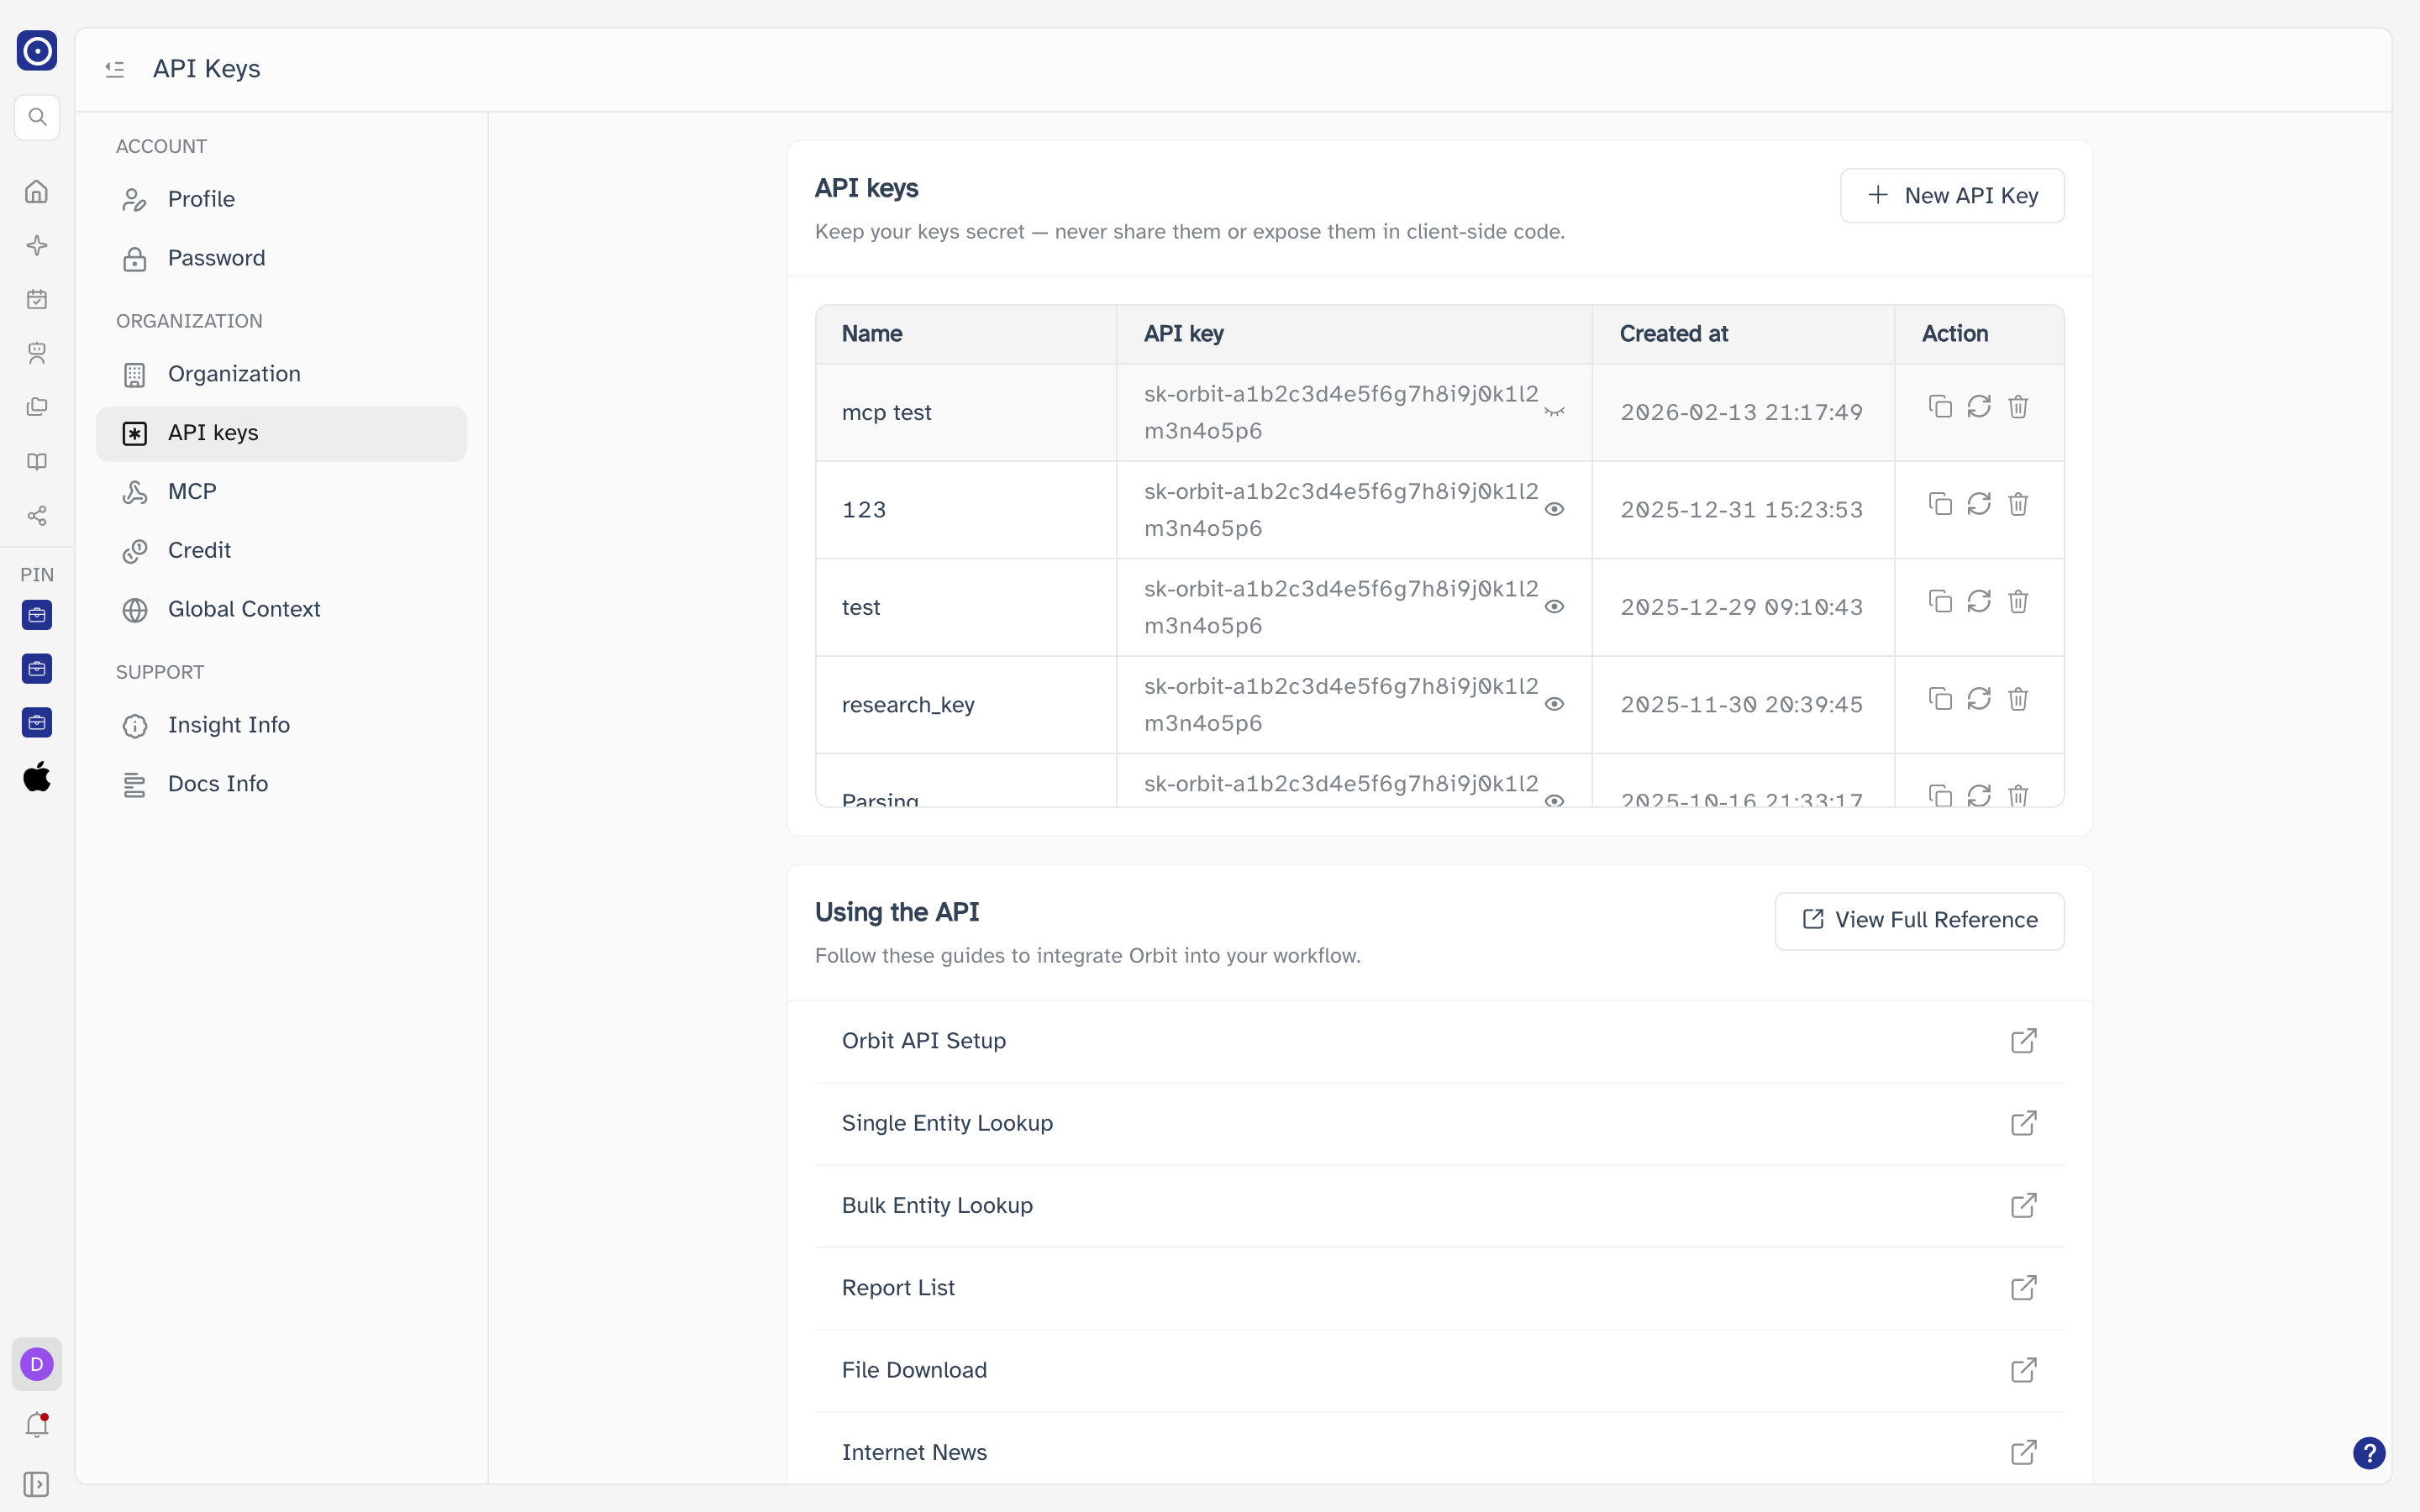
| Eye icon | Shows or hides the key value in that row — see below. |
| Copy | Copies the full key to your clipboard and confirms with a message. You do not need to reveal a key to copy it. |
| Refresh | Regenerates the key — see below. |
| Delete | Permanently removes the key — see below. |
Revealing a key
Keys are masked by default: you see the opening and closing characters with the middle replaced. Click the eye icon in a row to show the value in full, and click it again to mask it. Only the row you clicked changes, and the setting resets when you leave the page.
Regenerating a key
Use Refresh if a key may have been exposed. Orbit asks you to confirm first.
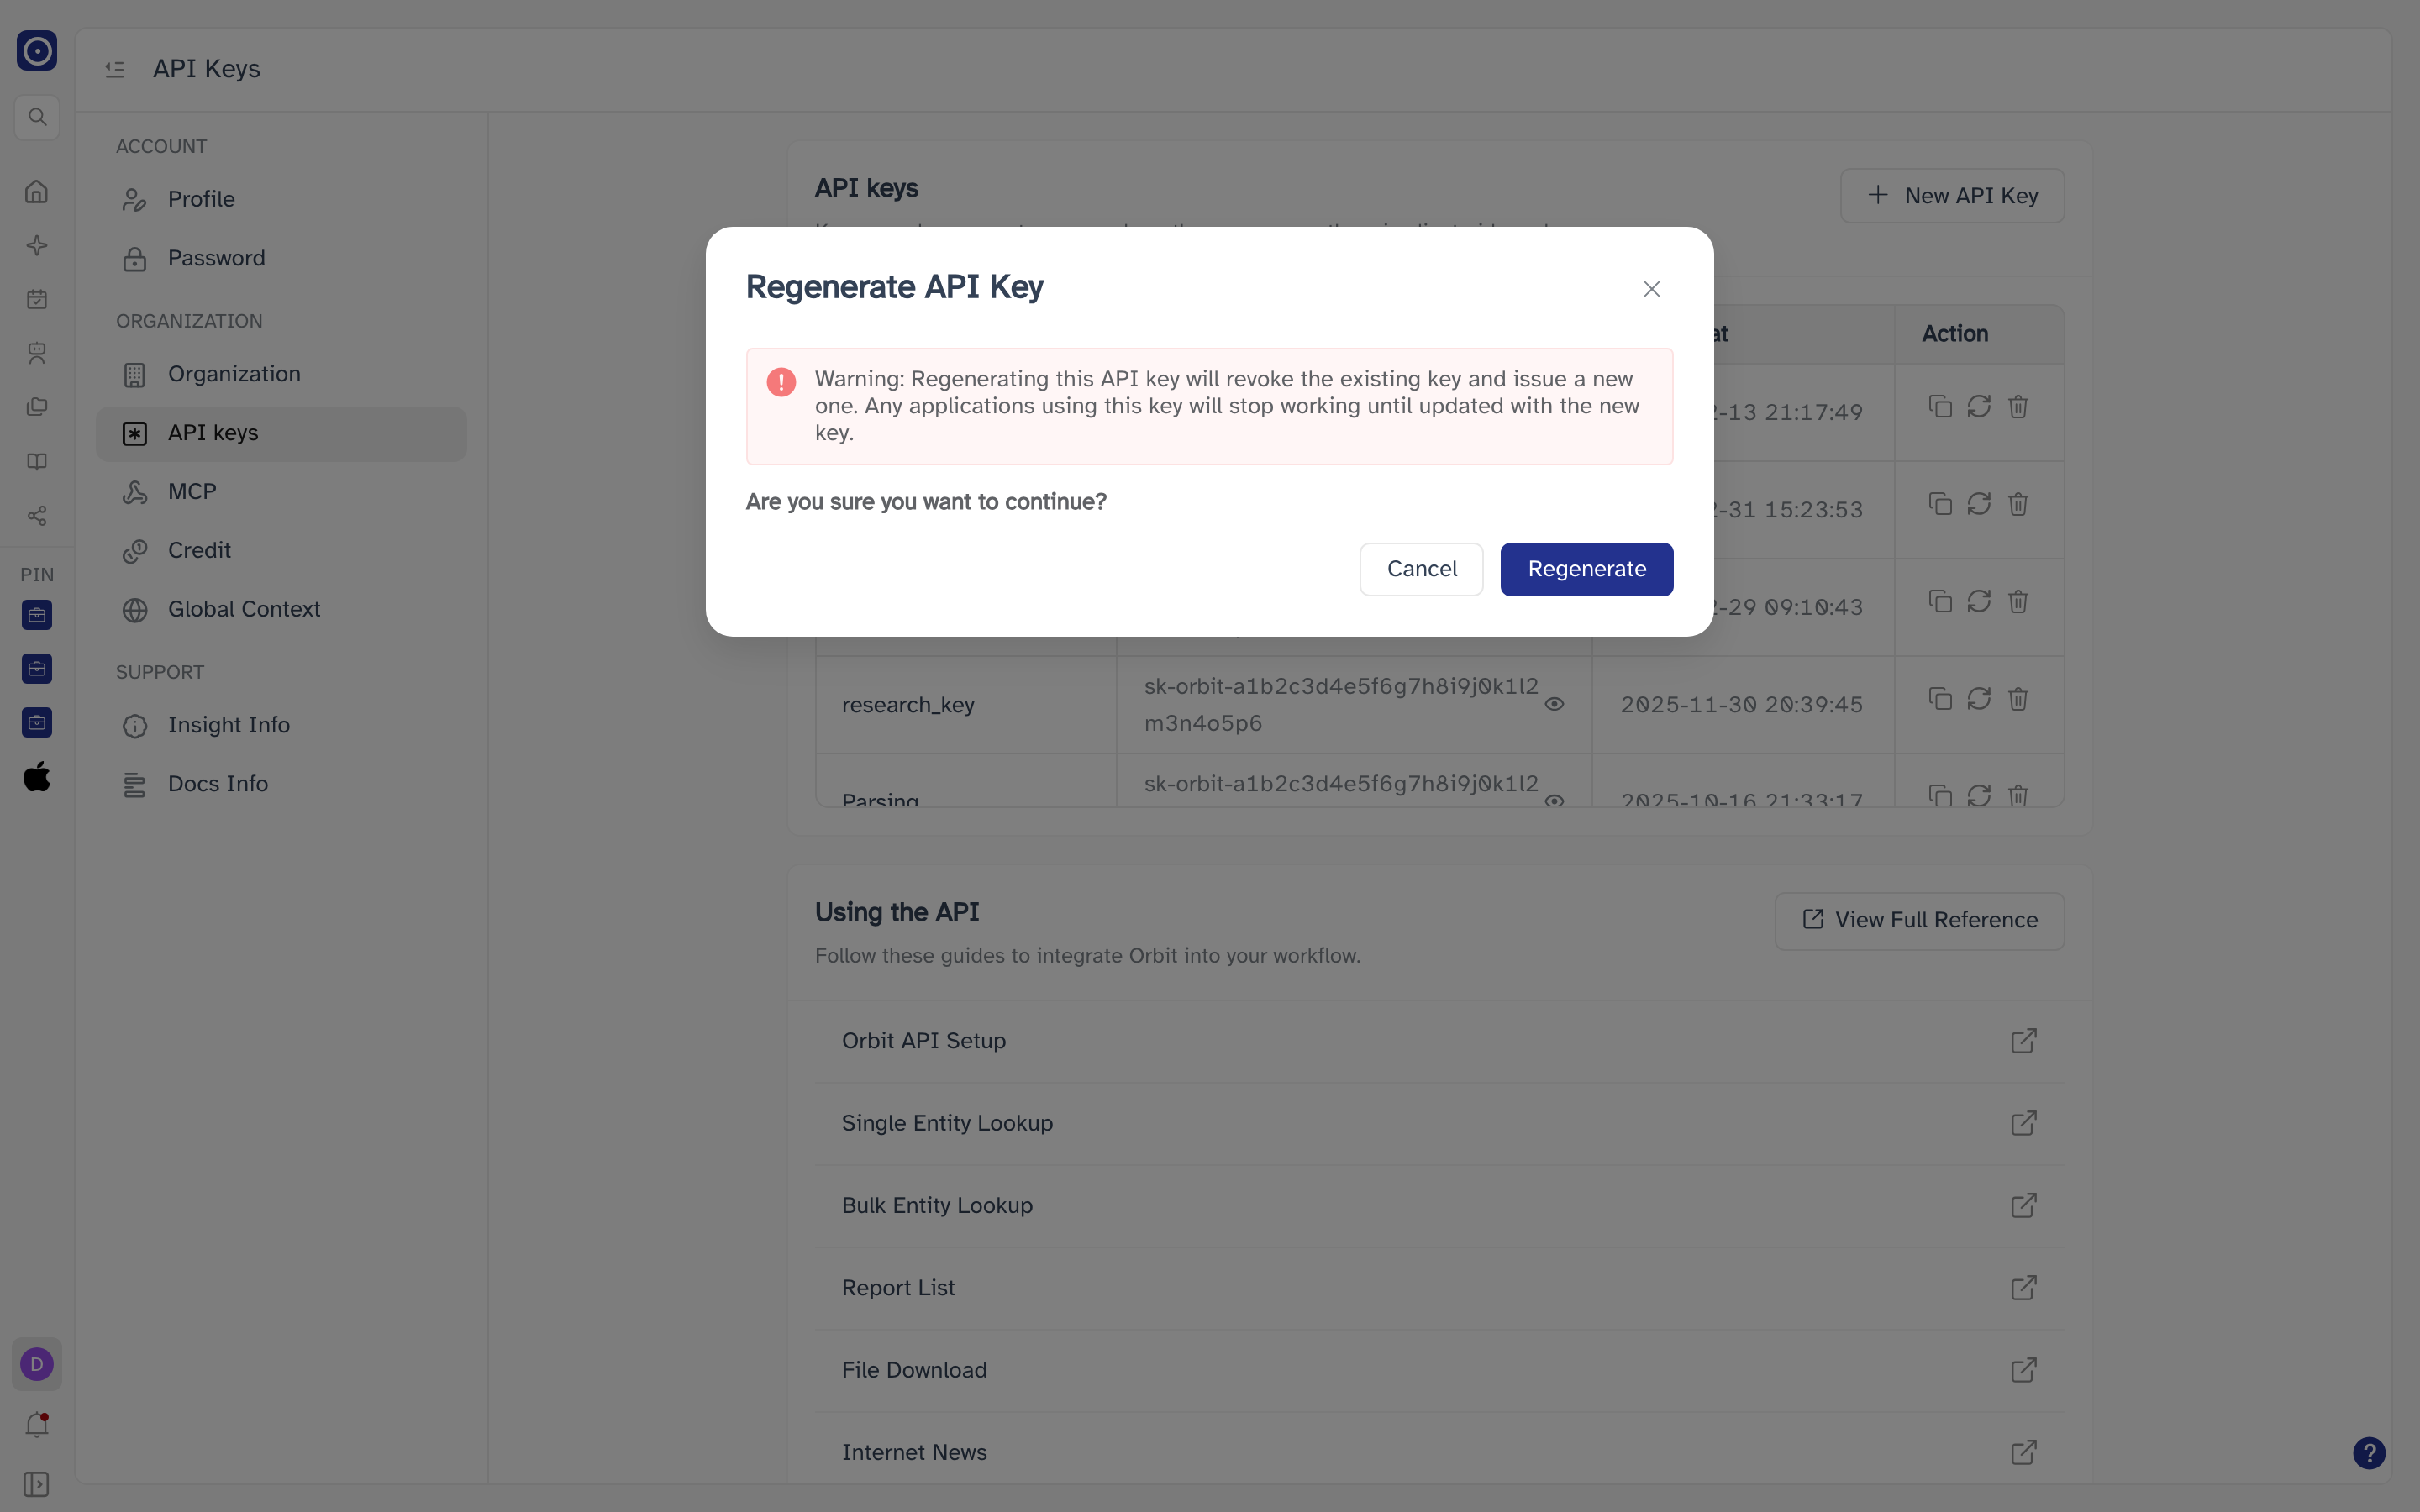
The existing key stops working the moment the new one is issued. Any application still using the old key will fail until you update it.
Deleting a key
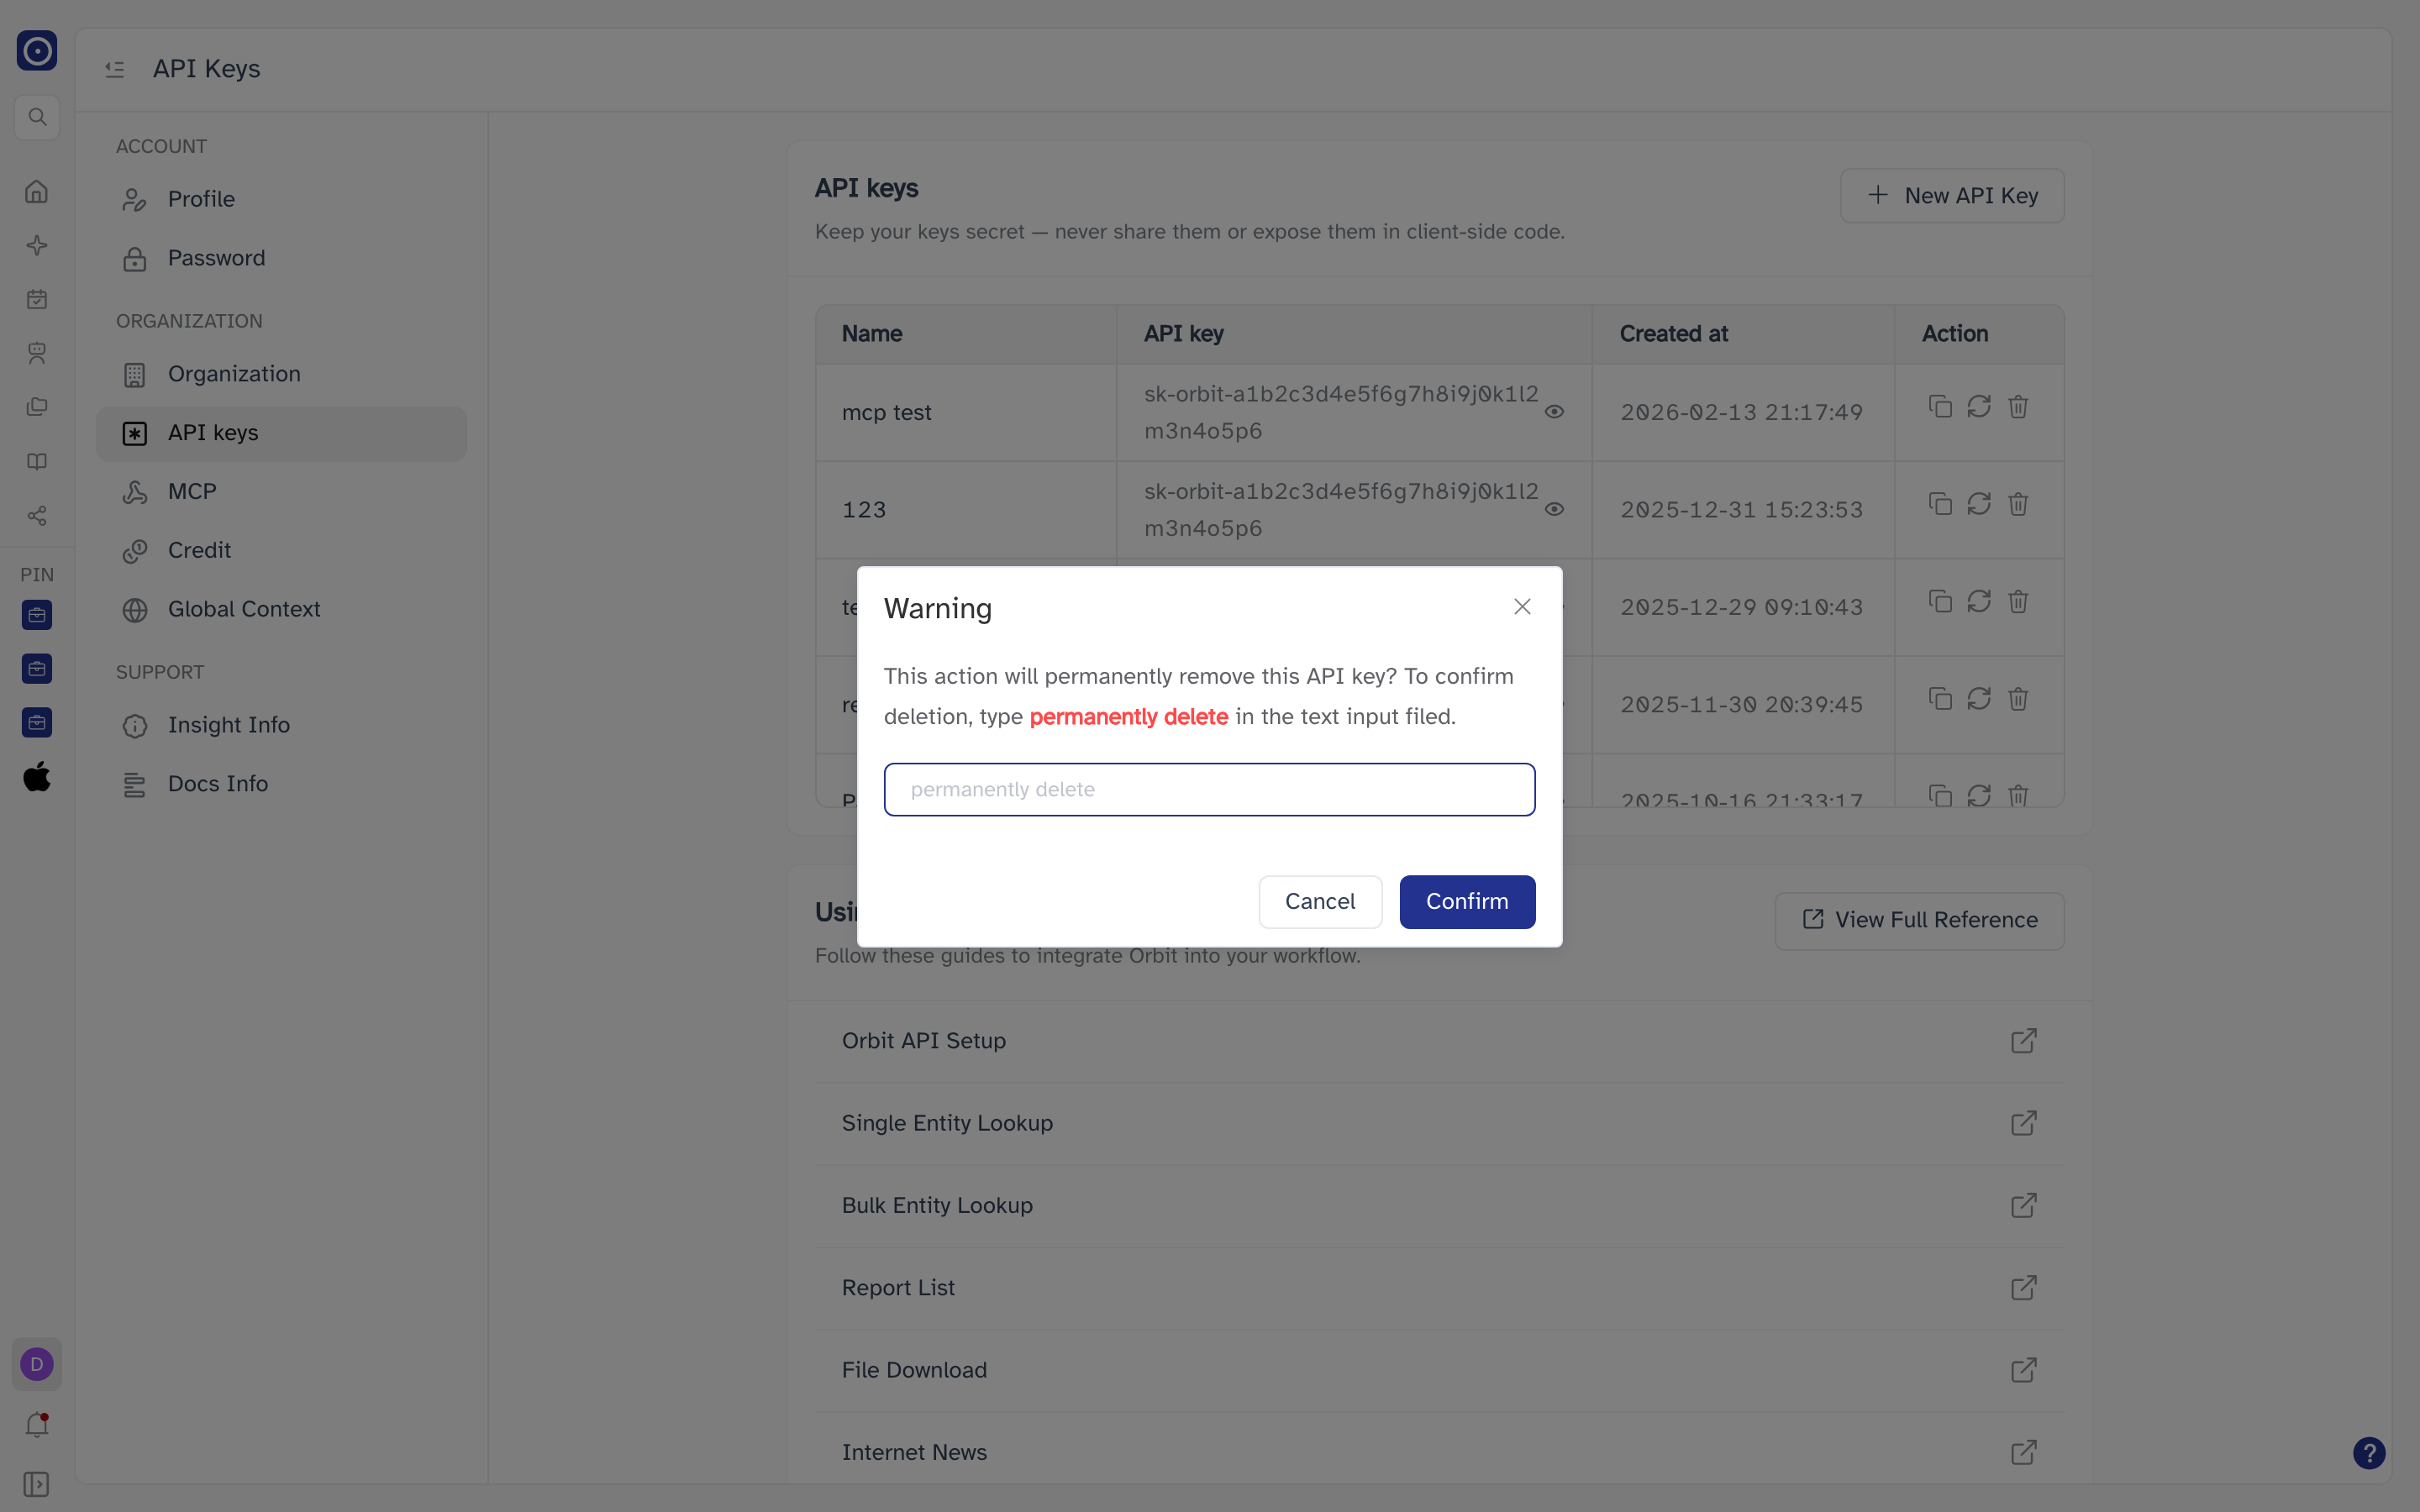
Delete asks you to type permanently delete into the box before it
will proceed. This is deliberate — deletion cannot be undone, and any integration using the key
stops working immediately.
Using the API
The second card links to the reference documentation for each part of the Orbit API. Click the icon at the right of a row to open that guide, or View Full Reference to open the documentation site at the beginning.
Guides cover setup, entity lookup (single and bulk), report lists, file download, internet news and chat over it, end-of-day prices, Agent Builder, and appendices for error codes and metadata.
To connect an AI assistant to Orbit rather than writing code against the API, see MCP.